eSIM Cannot Activate iMessage: Causes and Fixes

Switching to eSIM is becoming a popular choice for overseas leisure and business trips thanks to its convenience and flexibility. However, during use, some users encounter the issue of eSIM not being able to activate iMessage. eSIM will help you understand the problem step by step and guide you on how to use iMessage more stably when using eSIM.
Understanding how iMessage works with eSIM
To avoid confusion when facing the error that eSIM cannot activate iMessage, users need to clearly understand how iMessage operates and how eSIM affects the verification process. Most issues do not come from a faulty eSIM, but from iMessage being unable to verify identity in the way the user expects.
How does iMessage work?
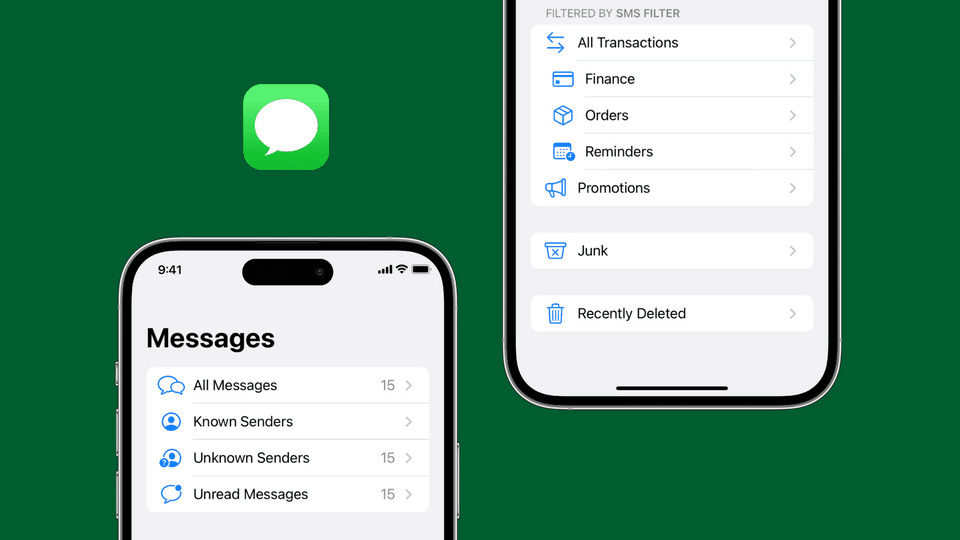
iMessage is Apple’s messaging service, operating entirely over the internet through Apple’s servers. When iMessage is enabled, the iPhone uses a Wi-Fi connection or mobile data to send and receive messages, instead of relying on the carrier’s SMS system.
Each iMessage account is always linked to an Apple ID. The Apple ID identifies the user and is a required condition for iMessage to work. In addition to the Apple ID email, iMessage can also be linked to a phone number if that number is active on a SIM or eSIM and eligible for verification.
The iMessage activation process usually includes:
- Confirming a valid Apple ID.
- Checking for a stable internet connection.
- Verifying the phone number (if the user chooses to use iMessage by number).
If the phone number verification step is not completed, iMessage is not disabled and will continue working through the Apple ID email.
How does eSIM affect iMessage?
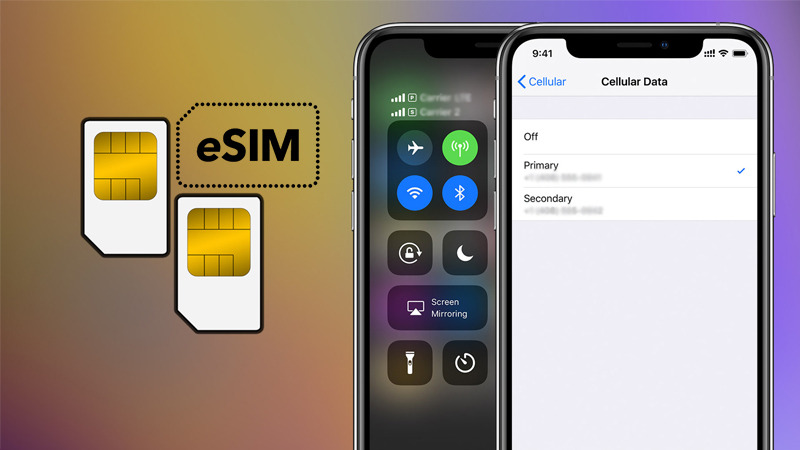
eSIM does not change how iMessage sends messages, but it directly affects iMessage’s verification method. This depends on the type of eSIM the user is using.
With a numbered eSIM that supports voice and SMS, iMessage can be activated and linked to a phone number similarly to a physical SIM. Apple will use the SMS channel or the carrier system to verify the number, then link that phone number to the Apple ID.
In contrast, a data-only travel eSIM provides only mobile data and does not have a real phone number. In this case, iMessage cannot verify by phone number because there is no SMS channel. iMessage will then automatically switch to working with the Apple ID email.
If the user keeps the primary SIM in the device while installing a data-only eSIM, iMessage can continue using the primary SIM’s phone number for verification, while mobile data is switched to the eSIM. This is a common and stable setup when using a travel eSIM, helping iMessage work normally without generating unwanted SMS or roaming charges.
Signs that eSIM cannot activate iMessage
When using eSIM, especially a travel eSIM, iMessage may not work as expected even though the device still has an internet connection. Recognizing the early signs correctly will help users quickly identify the situation where eSIM cannot activate iMessage and avoid handling it the wrong way.
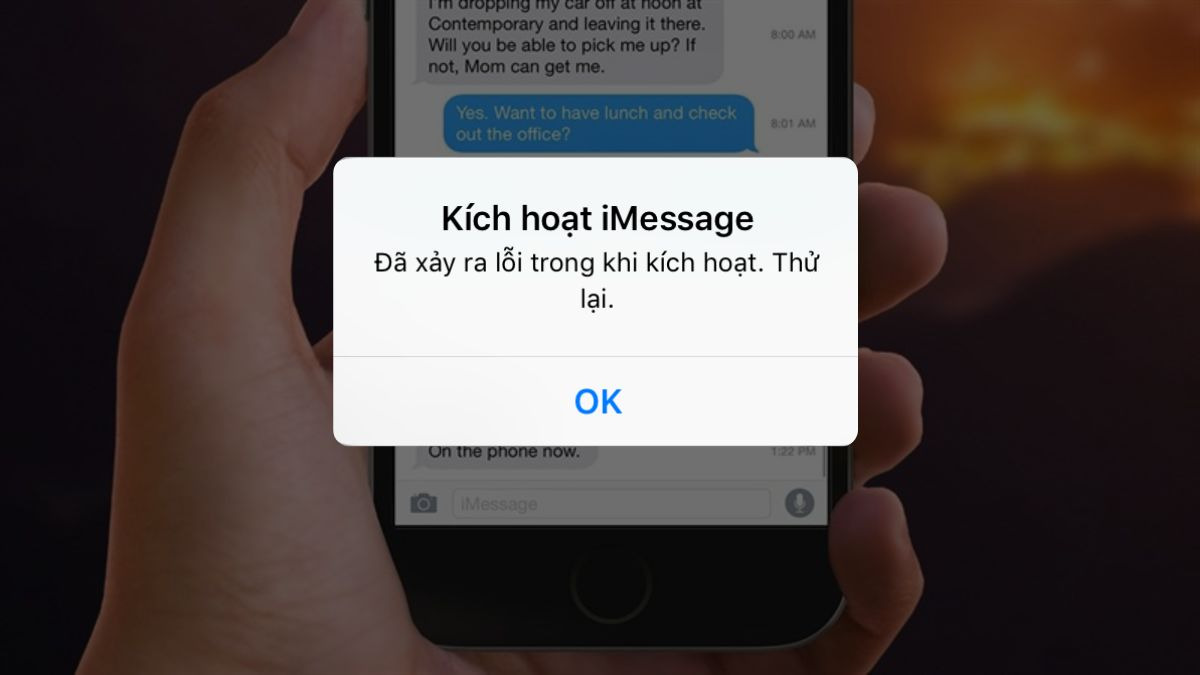
- iMessage shows “waiting for activation” for a long time: After installing the eSIM, iMessage may remain stuck in “waiting for activation” and not switch to normal operation. This situation often lasts for tens of minutes, even hours, indicating that the iPhone has not completed Apple ID or phone number verification.
- Unable to select a phone number in Send & Receive: When going to Settings → Messages → Send & Receive, the user only sees the Apple ID email and no phone number to choose. This is a common sign when the eSIM does not support SMS or the iPhone cannot identify a valid phone number to link with iMessage.
- Sent messages appear as SMS instead of iMessage: Even if the recipient also uses an iPhone, the message still appears in a green bubble. This shows that iMessage has not been successfully activated and the system is automatically switching to SMS through the carrier, often seen when esim cannot activate iMessage by phone number.
- Messages cannot be sent or keep showing send errors: In some cases, messages cannot be sent, accompanied by a warning icon or a failure notice. The cause is often that iMessage has not finished verification, while the eSIM does not have the ability to send SMS as a backup method.
Common reasons why eSIM cannot activate iMessage
When iMessage does not work after installing eSIM, many people assume the eSIM is faulty or the device has a technical issue. In reality, most cases of esim not activating iMessage come from familiar reasons related to the type of eSIM, the usage configuration, and how Apple verifies the iMessage service.
eSIM is data-only and does not support SMS
Some data-only travel eSIMs do not have a real phone number and do not support sending or receiving SMS, while iMessage needs SMS for verification if the user wants to link iMessage to a phone number. Without an SMS channel, iMessage cannot complete the phone number verification step and will automatically switch to working with the Apple ID email, making users think that iMessage has not been activated.
The correct way to handle this is to switch iMessage to use the Apple ID email. Users need to go to Settings → Messages → Send & Receive, select the Apple ID email as the primary send and receive address, and turn off the Send as SMS option to avoid unwanted charges.
Conflicts when using dual SIM
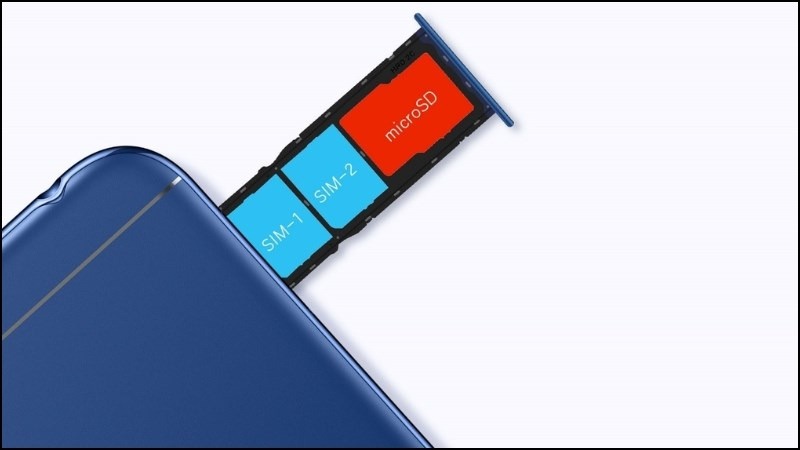
Using a physical SIM and an eSIM at the same time, or two eSIMs at once, can cause the iPhone to be unable to determine which is the primary phone number for iMessage. When a conflict occurs, iMessage may remain in waiting-to-activate status, send and receive unstably, or create multiple conversation threads for the same contact.
To fix this, users should go to Send & Receive, choose only one phone number or email as the primary identity, and set the travel eSIM as the data line while keeping the main SIM for communication if needed.
Unstable network connection
iMessage needs a stable internet connection to activate and keep working. If the newly installed eSIM has weak signal, limited bandwidth, or has run out of data, the activation process may be interrupted. Users should check the eSIM data allowance, signal location, and try turning mobile data off and on so the iPhone can receive the network configuration again before activating iMessage.
iMessage and FaceTime settings are not correct
After changing eSIMs, if users have not rechecked Send & Receive or have not synced FaceTime with iMessage, the system may prioritize the wrong identity. This incorrect configuration causes iMessage not to work as expected, even though the eSIM and network connection are still fine. Users should check both settings and make sure they use the same phone number or Apple ID email to avoid activation errors.
Apple ID or Apple system error
Some rare cases involve an Apple ID that has not been fully verified, a login that has not been completed, or Apple’s servers processing the activation request slowly. In that case, iMessage may show “waiting for activation” for a long time, leading users to believe that eSIM cannot activate iMessage even though the cause does not come from the eSIM.
Users should sign out and sign back in to the Apple ID to refresh the verification session. If the waiting-for-activation status lasts for many hours, contacting Apple Support or the eSIM provider will help identify the exact cause and the appropriate solution.
See more: How to use eSIM when traveling: A detailed A–Z guide
Quick ways to fix eSIM cannot activate iMessage
When iMessage does not work after installing eSIM, users should handle the basic steps first before applying more complex solutions. Below are quick fixes that can resolve most cases where eSIM cannot activate iMessage in a short time.
- Check the eSIM internet connection: Make sure mobile data from the eSIM is working stably by visiting a website or an app that requires a strong connection. If the connection is unstable, iMessage may not complete activation.
- Enable automatic date and time: Go to Settings, select General, then turn on Set Automatically for date and time to avoid verification errors caused by the wrong time zone, especially when abroad.
- Turn iMessage off and on again: Turn off iMessage for 30–60 g seconds, then turn it back on so the system can refresh the connection process with Apple’s servers.
- Check Send & Receive: Go to Settings → Messages → Send & Receive and confirm that iMessage is using the correct phone number or Apple ID email for your needs.
- Restart the iPhone: Restarting helps the iPhone re-sync the network configuration, eSIM, and iMessage service after settings changes.
- Reset network settings when needed: If iMessage still has errors, resetting network settings can remove old configurations that conflict with the new eSIM.
- Update iOS to the latest version: An older iOS version can sometimes cause compatibility issues with eSIM and iMessage; updating helps improve system stability.
See more: How to activate eSim on iPhone: A detailed A to Z guide
Detailed steps to set up and activate iMessage with a travel eSIM
To keep iMessage working stably when using a travel eSIM, users should set it up in the correct order from the start. Below are simple, clear steps suitable for each type of eSIM.
- Check that the eSIM has been activated on the iPhone: Go to Settings → Cellular to confirm that the travel eSIM is turned on and can access the internet. If the eSIM has no data, iMessage will not be able to work.
- Turn on iMessage in Messages settings: Go to Settings → Messages and enable iMessage. After turning it on, the iPhone will start connecting to Apple’s servers to initialize the service.
- Wait for the system to process activation: During the first few minutes, iMessage may show a waiting for activation status. This is a normal step, especially right after installing eSIM or when you are in another country.
- Check Send & Receive: Go to Send & Receive to confirm the iMessage identity.
- With a data-only travel eSIM, iMessage will automatically use the Apple ID email and does not require further adjustment.
- With a numbered eSIM that supports SMS, the iPhone will automatically verify the phone number and switch to an activated status shortly after.
- Recheck iMessage activity: Send a test iMessage to make sure the message is sent via iMessage and appears in a blue bubble.
If you are preparing for a holiday, business trip, or short business trip abroad, choosing a quality international eSIM will make connectivity and communication much simpler. At SimPM, you can buy international eSIMs for many countries, activate them quickly, receive the QR code by email in just a few minutes, and set them up and use them right away when you arrive. Having internet ready, stable iMessage, and no worrying roaming charges is a major advantage for every trip.