Japan 7-Day Travel eSIM: The Perfect Choice for a Short Trip

A Japan travel SIM for 7 days gives you data the moment you land, makes it easy to use Google Maps, translate menus, and stay connected throughout your trip. This article brings together reasons to choose one, compares eSIMs and physical SIMs, includes a reference price table, step-by-step setup instructions, and suggests trusted places to buy before departure so your Japan trip is smooth and free from connection worries.
Why has a Japan travel SIM for 7 days become a popular choice?
Independent travel in Japan is becoming increasingly popular with Vietnamese travelers. When you are not on a tour, you need to find your own way, book tickets, and travel by train. That is why preparing a Japan travel SIM before your trip is almost essential to stay connected with stable internet throughout the journey:
- Get data as soon as you land at the airport
- Use Google Maps to check JR, Metro, and bus routes
- Translate menus, signs, and ticket machines
- Make video calls and message family in Vietnam
- No need to rely on public WiFi
Although Japan still has free WiFi, you often need to register an account, use it within time limits, and the signal can be unstable in train stations or crowded areas. Therefore, using a Japan travel SIM for 7 days is considered a more convenient and safer solution throughout the trip.
Which itinerary is a Japan travel SIM for 7 days suitable for?
This type of SIM is suitable for trips of about 6 – 7 days, a common trip length for Vietnamese travelers visiting Japan. Since it covers the whole journey, a Japan travel SIM for 7 days helps you avoid worrying about running out of data or having to renew in the middle of the trip.
- Golden route: Tokyo – Kyoto – Osaka, usually around 6 – 7 days.
- Exploring remote areas: Nature-focused trips, moving between multiple cities.
- Business trip combined with leisure: Stay in touch, handle work, and call back to Vietnam throughout the trip.
- Visiting family: 7 days is enough time to live, travel, and stay reliably connected in Japan.

Compare a Japan travel SIM for 7 days with international roaming
When getting ready to travel to Japan, many people wonder whether to buy a travel SIM or simply turn on international roaming for convenience. In reality, each option has different costs and connection quality, especially for a trip of about 6 – 7 days. Here is a quick comparison table:
| Criteria | Japan travel SIM 7 days | International roaming |
| Cost | About225.000 – 429.000d, all-inclusive | High, with a risk of very large charges |
| Speed | 4G/5G stable on Japan’s mobile network infrastructure | Often bandwidth-limited, with high latency |
| Convenience | Insert and use immediately | Must be registered with your carrier in Vietnam |
| Charge control | Know the cost in advance | Hard to control after the trip |
Overall, for a long trip, a Japan travel SIM for 7 days provides more stable connectivity and helps you manage your budget from the start, reducing the risk of extra charges after returning home.
Should you choose an eSIM or a physical SIM for 7 days when traveling in Japan?
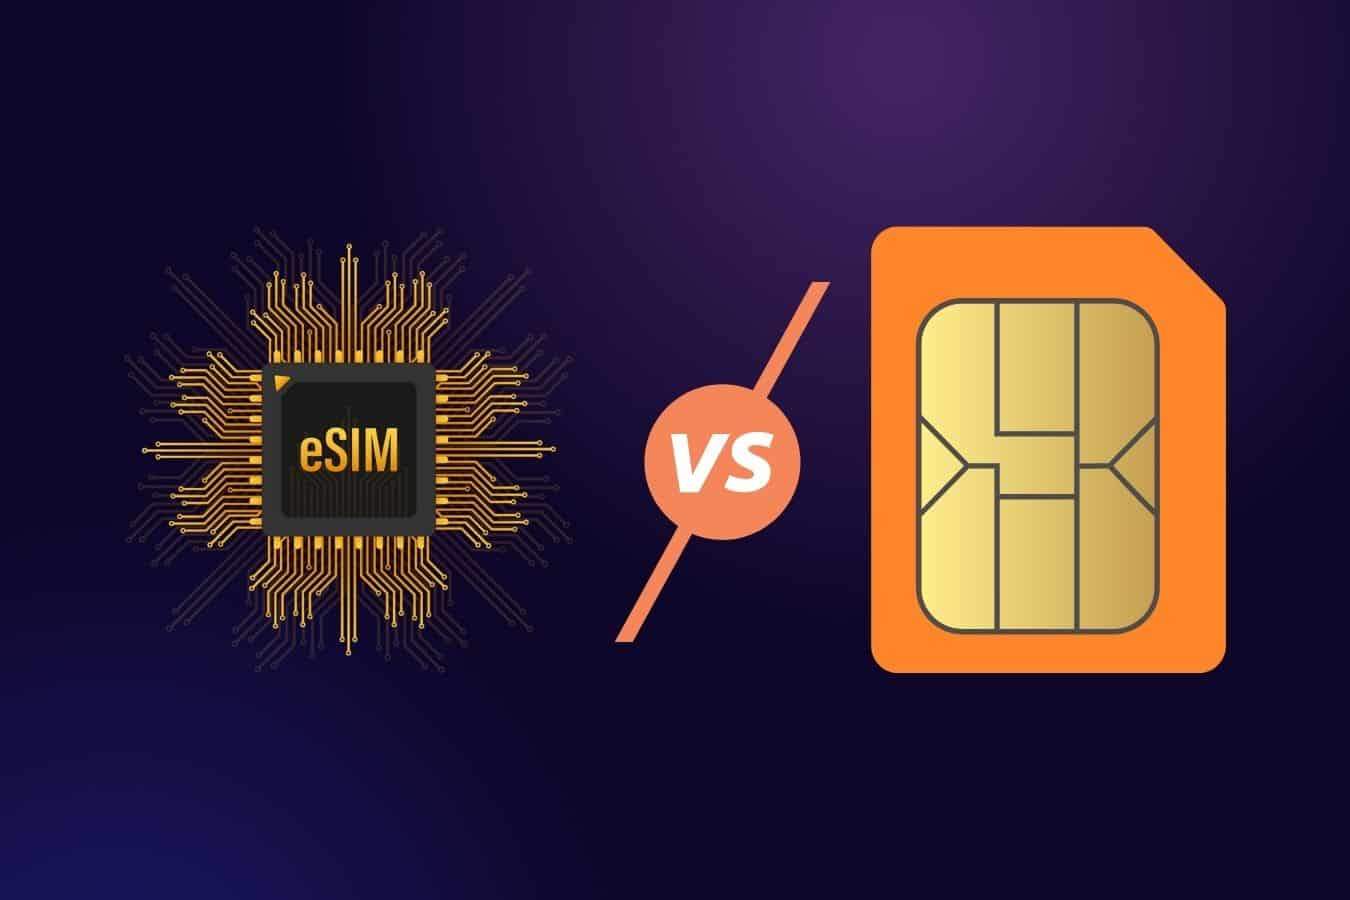
Today, travelers can choose either an eSIM or a physical SIM, depending on the type of phone they use and how comfortable they are with setup. Each option has its own advantages and suits different usage needs:
Japan travel eSIM for 7 days
For those who prioritize compact convenience and the ability to connect as soon as they land, an eSIM is worth considering thanks to its fully online setup, with no need to carry or replace your current SIM:
- Suitable for newer phones (iPhone XS and later, many Samsung models, Google Pixel…)
- Receive a QR code, scan it to install and use
- No need to remove your current SIM in Vietnam
- Fast activation, convenient when buying urgently or while already in Japan
Traditional physical SIM
If you prefer a familiar way of using things, with little technical setup and the ability to prepare before your trip, a physical SIM is still a safe choice, especially for those who are not familiar with phone settings:
- Works with most international phone models
- Just insert the SIM into the phone and you have internet
- Simple steps, easy to use
- Suitable for people who are not comfortable with setup or for older travelers
See more: Experience buying a Japan travel SIM: Choose right, use reliably
Latest price update for Japan travel SIMs for 7 days
Currently, Japan travel SIMs for 7 days are offered with many different data allowances, suitable for both usage needs and budgets. Depending on whether you only check basic information or use the internet frequently every day, you can choose a package that is just right to optimize costs. Common plans include:
- Economy plan (7GB/7 days): Around 225.000 – Suitable for maps and messaging.
- Standard plan (14GB/7 days): Around 365.000 – Comfortable for web browsing and posting on social media.
- Premium plan (Unlimited data): Around 429.000 – Suitable for livestreaming, watching movies, and heavy work use.
In addition to fixed 7-day SIM plans, if your itinerary is shorter or you want quick, flexible connectivity, you can also check out Japan eSIM at SimPMFlexible plans3, 5, 7to10days with data allowance1-3GB/day, prices start at around125.000VND -755.000Allows online installation and use almost immediately without waiting for a physical SIM card to be delivered.
How to install and activate a Japan travel SIM for 7 days
Getting connected to the internet in Japan is quite simple if you follow the steps below correctly. Depending on the type of Japan travel SIM for 7 days (eSIM or physical SIM), the setup method will differ slightly.
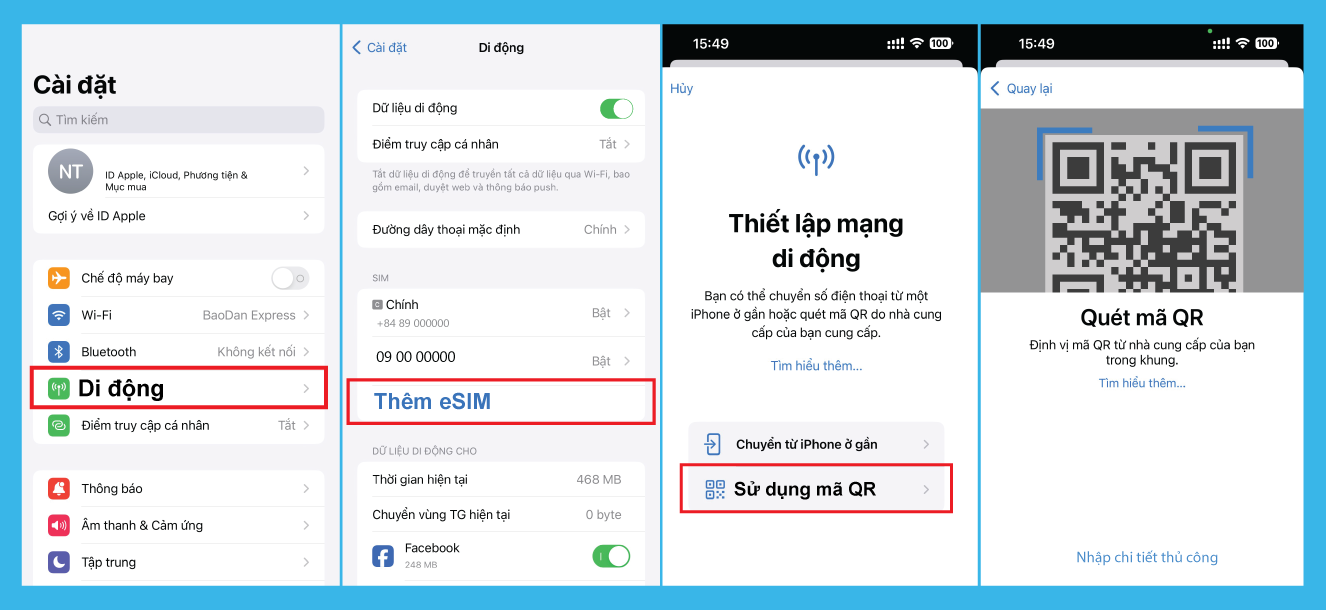
Japan travel eSIM
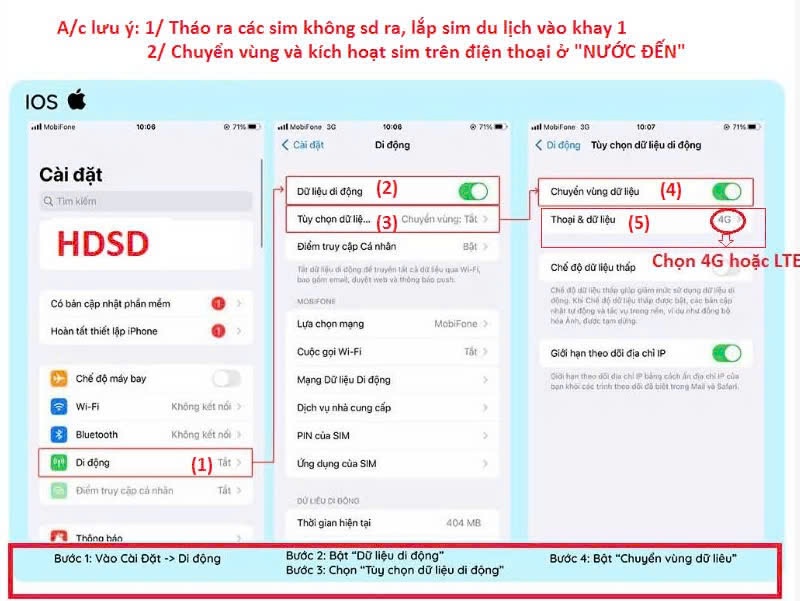
With an eSIM, you can set it up while still in Vietnam so you are ready to connect. When the plane lands, just turn on mobile data and the phone will automatically pick up the signal, with no need to remove or swap your current SIM.
- Step 1: Scan the QR code. Go to Settings > Cellular > Add eSIM, then use the camera to scan the provided QR code.
- Step 2: Choose mobile data. Name the eSIM (for example, “Japan Trip”) and select the eSIM as the line for Cellular Data.
- Step 3: Activate upon landing. When you arrive in Japan, turn on Data Roaming. The phone will automatically connect to the local carrier after about 30-60 g seconds.
Traditional physical SIM
This is a familiar choice, suitable for most international phone models and does not require complicated setup. You only need to replace the SIM before or as soon as you arrive in Japan to start using the internet.
- Step 1: Insert the SIM. Use a SIM eject tool to open the tray, and replace your Vietnam SIM with the Japan travel SIM.
- Step 2: Turn on mobile data. Go to Settings > Cellular > turn on Mobile Data.
- Step 3: Turn on roaming. Turn on Data Roaming. If there is still no signal after a few minutes, restart the phone so the device can update the network settings automatically.
Important notes when using a SIM in Japan
To keep your Japan travel SIM for 7 days working smoothly and minimize connection errors, users should note a few important points before and during use. The points below will help you set it up correctly and always have internet when you need to check maps, communicate, or book services.
- Check compatibility: Your phone must be an international model; locked phones cannot use travel SIMs/eSIMs.
- Do not activate early in Vietnam: Only insert the SIM or scan the eSIM when you arrive in Japan or close to your departure time to avoid losing days.
- Turn on Data Roaming: This is needed for the phone to connect to a Japanese carrier, with no extra charge.
- Prepare WiFi when setting up the eSIM: Have stable WiFi ready to scan the QR code and download the initial profile.
- Restart if there is still no signal: If you still have no network after a few minutes, turn your phone off and back on.
See more: How to activate eSIM on iPhone: A detailed A to Z guide
Where to buy a trusted Japan travel SIM for 7 days?
Buy Japan travel eSIM online
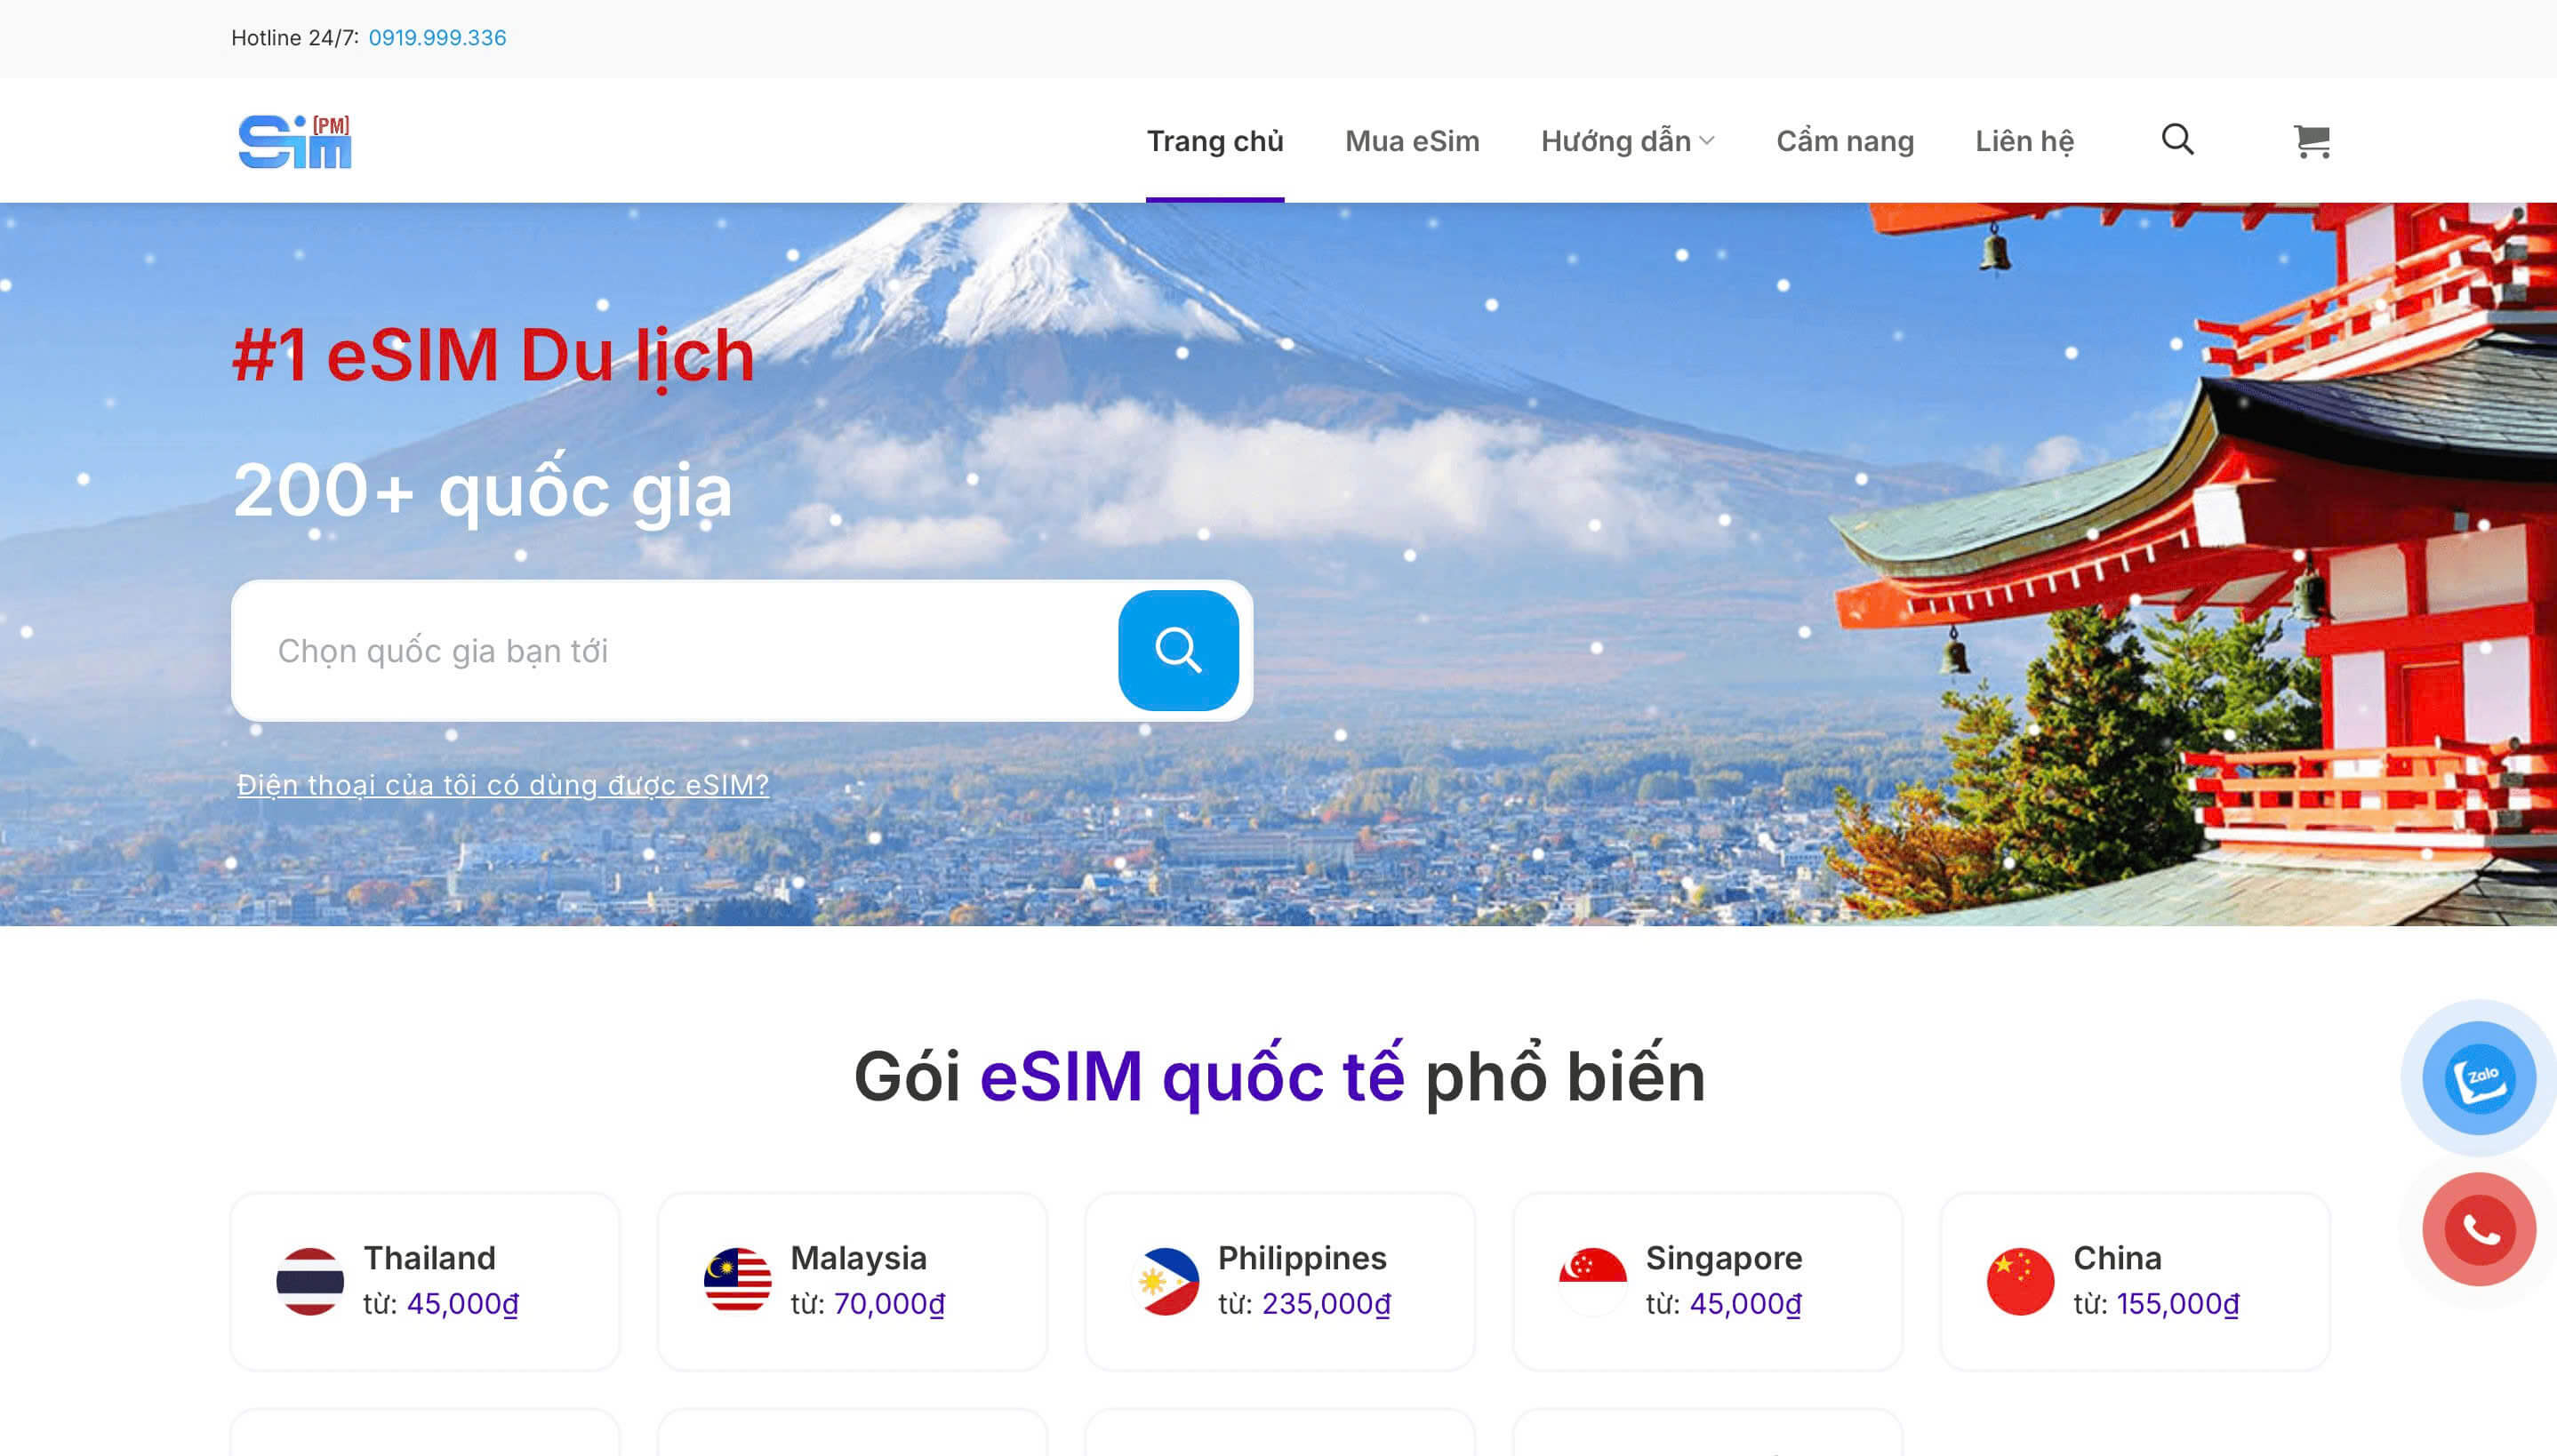
If you want to land in Japan and have data right away, without looking for WiFi or lining up to buy a SIM at the airport, Buy eSIM Japan travel SIM for 7 days from SimPM is a convenient and reassuring choice. Just order in advance in Vietnam, and your trip’s connectivity is ready for the full 7 days.
- Instant QR code: The activation code is sent via Email/Zalo about 5 minutes after ordering, with no need to wait for SIM delivery.
- Stable network infrastructure: Connects directly to SoftBank and Docomo networks, with strong 4G/5G speed, and works well even on the subway or in suburban areas.
- 24/7 technical support: Staff provide setup guidance and troubleshoot issues throughout your trip.
- Save on costs: eSIM plans are optimized, and the cost is usually significantly lower than buying a SIM in Japan.
Buy a physical SIM from trusted domestic retailers
If you are used to traditional SIMs or your phone does not support eSIM, buying a Japan travel SIM for 7 days in advance in Vietnam will be safer and more convenient than trying to find one after arriving in Japan. You can choose from major travel SIM stores or reputable travel agencies in Hanoi and Ho Chi Minh City.
The advantage of buying in Vietnam is that you can prepare before your trip, and the cost is usually cheaper than buying directly at a Japanese airport. When choosing a provider, prioritize one with a clear warranty policy, a hotline for support while you are in Japan, and SIMs from reputable carriers to avoid weak signal or early bandwidth restrictions.
A Japan travel SIM for 7 days helps you stay connected for maps, messaging, and booking services throughout your trip. Preparing in advance in Vietnam saves money and gives you peace of mind when you arrive in Japan. For the most convenience, you should prioritize an eSIM at SimPM, receive the code quickly, set it up easily, and always have support when needed. With data ready from the start, your trip will be more comfortable and uninterrupted.