Buy a 5-Day South Korea Travel SIM with Great Value, Internet Ready on Arrival

A 5-day South Korea travel SIM is a convenient Internet solution for short trips, helping you get online as soon as you land without having to search for WiFi or buy a SIM at the airport. This article explains how to choose an eSIM or physical SIM, estimate the right data allowance, set it up quickly, and use mobile data stably when traveling independently.
Why should you prepare a South Korea travel SIM before flying?
Many people think they can use free WiFi in South Korea, but public WiFi is only available at certain places and sometimes requires local number verification, which can be inconvenient. That’s why preparing a 5-day South Korea travel SIM before your flight will help you stay in control as soon as you land:
- Plan your route with ease: Right after leaving the airport, you can open Naver Map, check the AREX route, book a Kakao T taxi, or contact your hotel without having to look for WiFi.
- Save time: No need to line up to buy a SIM at the airport, avoiding a 30 – 60 minute wait and heading straight to central Seoul.
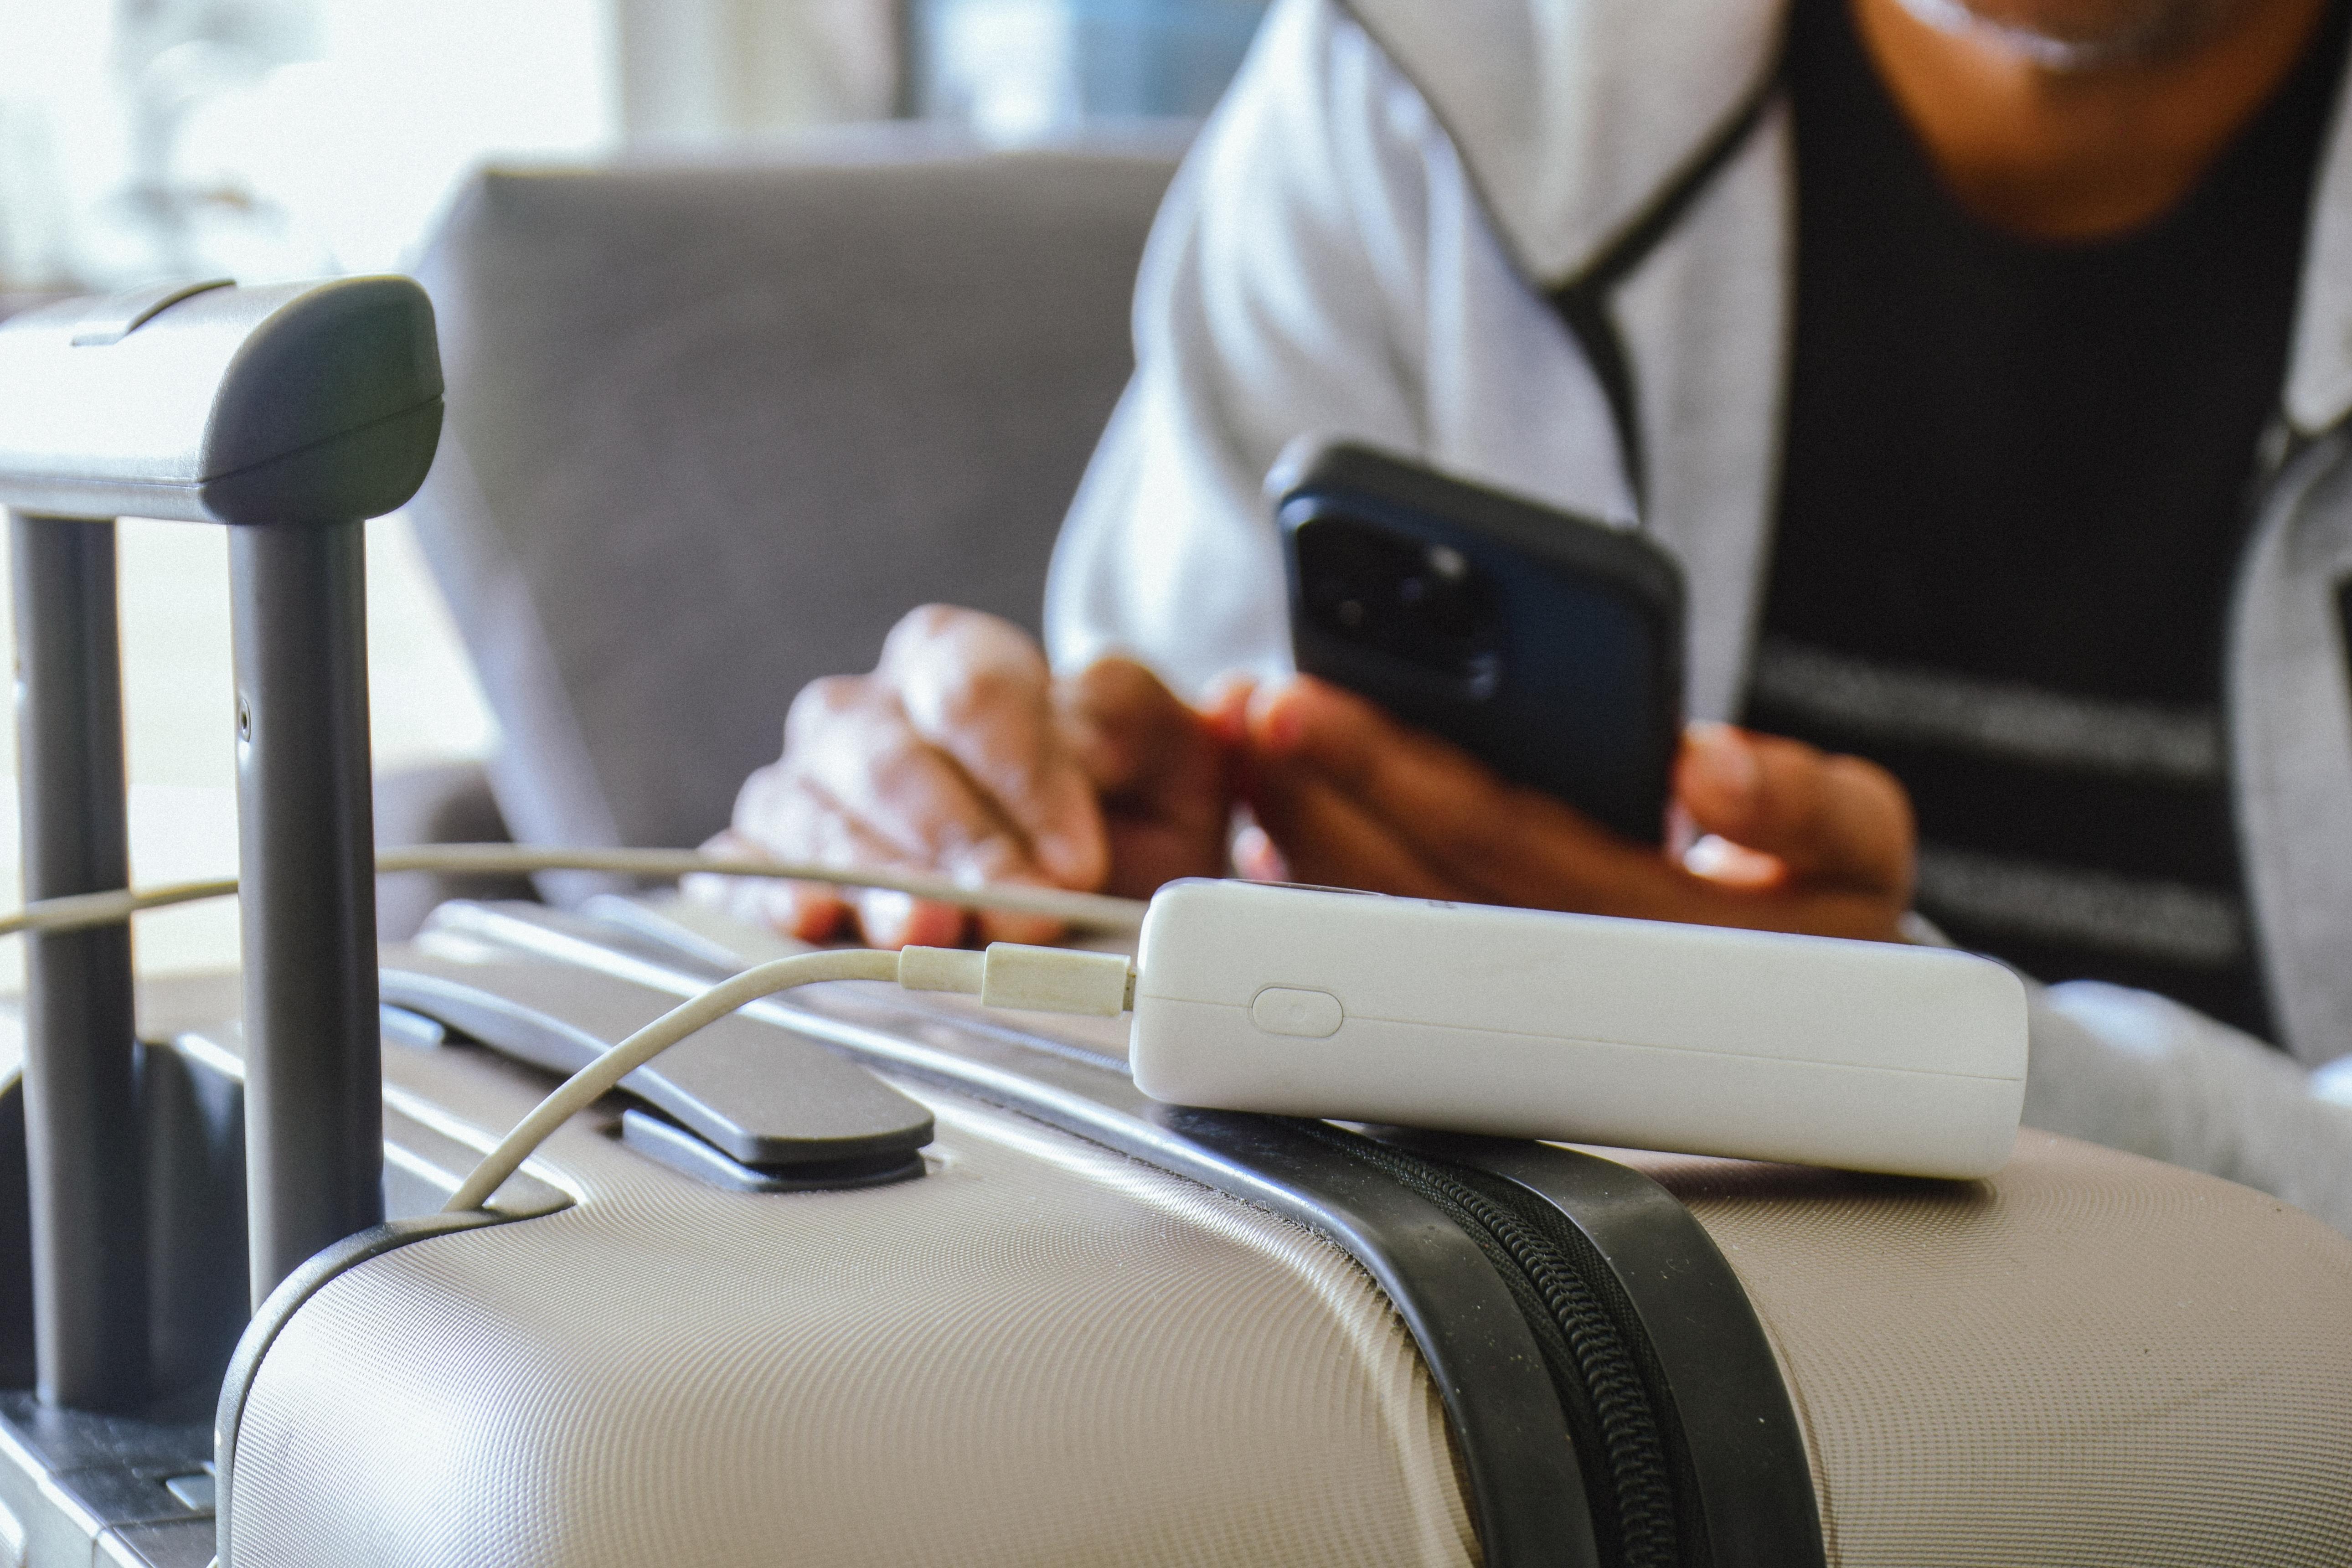
- Stay connected continuously: Chat, make video calls, send photos, check in, and stay in touch with family or travel companions throughout your trip.
Today, many travelers choose buy eSIM to go online before the trip, receive a QR code by email, install it in advance in Vietnam, and simply turn on mobile data when the plane lands to get Internet right away. No need to search for a counter, no need to swap SIMs, and your trip starts smoothly from the very first minutes.
Compare a 5-day South Korea travel SIM and WiFi router rental
When preparing for a trip to South Korea, many people wonder whether to choose an eSIM/travel SIM or a WiFi router. Both provide Internet, but convenience, cost, and usage are quite different. The comparison table below will help you visualize the difference and choose the option that best suits your trip.
| Criteria | 5-day South Korea eSIM/travel SIM | WiFi router |
| Connection on arrival | Internet right away | Must receive the device in advance |
| Convenience | Very compact, no need to carry extra items | Must always carry the device |
| Pin | No separate charging needed | Must be charged every day |
| Outdoor travel | Very convenient (subway, hiking, night markets) | Can be inconvenient if you forget to bring it |
| User group | 1-2 people | Good for sharing among 3-4 users |
| Risk of loss | No | May drop/get lost and require compensation |
| Return the device | Not needed | Must return it at the airport |
| Receive Vietnam SIM OTP | Yes (especially eSIM) | Yes |
| Flexibility | Cao | Depends on who holds the device |
| Suitable for | Independent travel, couples, short business trips | Large groups of friends or family |
What types of 5-day South Korea travel SIM are there?
When buying a 5-day South Korea travel SIM, many people only look at the price and forget that the SIM type also greatly affects convenience, whether you need to remove your Vietnam SIM, whether you can receive OTPs, or whether you need to go to the airport to pick it up. Today, 5-day South Korea travel SIMs are offered in 2 main forms:
- Physical SIM: Insert directly into the phone, requiring you to remove your Vietnam SIM so you may not receive calls/OTPs, but it is easy to use, widely compatible, and can be received in Vietnam or at the airport.
- Travel eSIM: Install using a QR code, no need to remove your primary SIM so you can still receive OTPs; set it up before your trip, and you’ll have Internet as soon as you land (your phone must support eSIM).
If you are traveling independently and need to receive bank OTPs, an eSIM is more convenient because you can set it up at home and get Internet right after landing. A physical SIM is more suitable for phones that do not support eSIM or for people who prefer the traditional way. Choosing the right SIM type will help your 5-day trip in South Korea go smoothly from the start.
See also: Types of South Korea travel SIMs: Should you choose a physical SIM or eSIM?
Guide to choosing the right data allowance for a 5-day South Korea travel SIM
For a 5-day trip, choosing the right data allowance will help you stay online throughout your journey, avoiding the need to buy an extra plan midway or suffer slow speeds when you need directions or a ride. Below are practical reference levels based on usage habits:
- 500MB – 1GB/day: Suitable for basic needs such as using Naver/Google Maps, messaging on Messenger or Zalo, searching for places to eat, or looking up transportation.
- 2GB – 3GB/day: Good for people who often post stories, make video calls, use Google Translate constantly, browse TikTok, or work online while on the move.
- Unlimited: The most comfortable option if you take photos, record videos, livestream, or use the Internet almost all day without worrying about running out of data midway.
If your sightseeing schedule is light, a 5-day South Korea travel SIM with about 1GB/day is enough. If you want to use the Internet almost as freely as in Vietnam, choose a high-data or unlimited plan so your trip stays smooth and uninterrupted.
Current price updates for a 5-day South Korea travel SIM
The price of a 5-day South Korea travel SIM is quite flexible, depending on the carrier (SK Telecom, KT, LG U+) and the data allowance you choose. In general, buying in advance in Vietnam is cheaper and more convenient than buying directly at South Korean airports.
- Travel eSIM: around 140.000d -350.000dBasic plans500MBon weekdays only around150.000d, and the unlimited-data plan is around300.000d.
- Physical SIM: around 220.000VND -450.000d. The price is higher because of the SIM card and delivery costs, but it is easier to use and compatible with most phones.
You can also refer to the following South Korea eSIM at SimPM with validity of 3 – 30 days, data from 500MB/day to 2GB/day, and prices ranging around 75.000VND -1.325.000d depending on duration and data allowance. Choosing the right plan will help save costs while still ensuring stable Internet throughout your trip.
Important notes when buying a 5-day South Korea travel SIM
To make your trip smooth, you should carefully check a few things before buying a 5-day South Korea travel SIM. Preparing early will help you have Internet as soon as you land, without worrying about searching for public WiFi or lining up to buy a SIM at the airport.
- Check your phone: Make sure the device is an international unlocked version. Carrier-locked phones usually will not accept travel SIMs.
- eSIM support: If you plan to use an eSIM, go to Settings > Cellular > Add eSIM. If you see this option, your phone can use it.
- Activation time: SIM/eSIM usually starts counting days as soon as the SIM is inserted or the QR code is scanned, so install it only before departure time or after landing at the airport. Avoid activating it early in Vietnam so you do not lose usage days.
- Keep the instruction information: Save the email, QR code, or SIM kit so you have the hotline and technical support information when you need it urgently.
How to easily set up a South Korea travel SIM on your phone
Depending on whether you choose an eSIM or a physical SIM, the setup steps will differ slightly, but in general both are quick and only take a few minutes before you can use the Internet.
5-day South Korea travel SIM (physical)
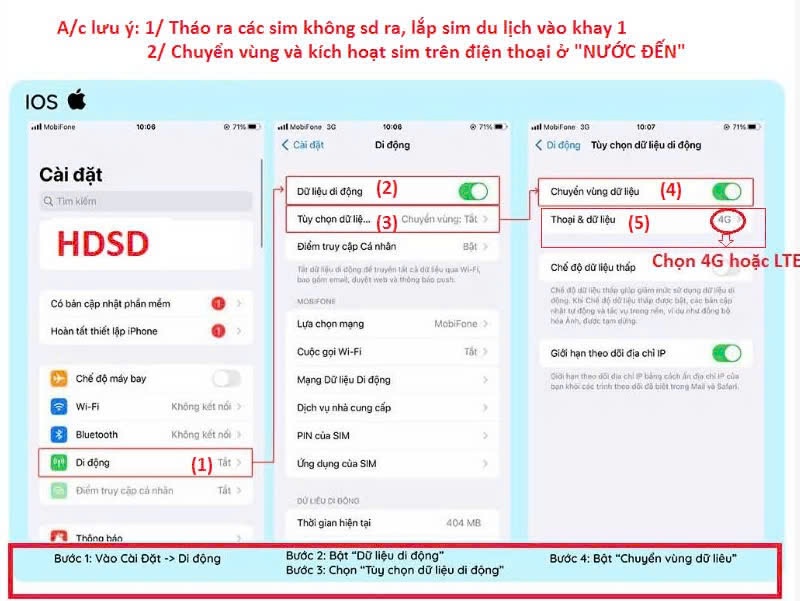
This is a familiar option, compatible with most international phone models, and easy to use. You just need to swap the SIM before flying or as soon as you arrive in Korea to access the Internet.
- Step 1: Insert the SIM. Use a SIM ejector tool to open the tray and replace your Vietnam SIM with the South Korea travel SIM.
- Step 2: Turn on mobile data. Go to Settings > Cellular and turn on Mobile Data.
- Step 3: Turn on roaming. Turn on Data Roaming. If there is still no signal after a few minutes, restart the phone so the device can automatically update the network settings.
5-day South Korea travel eSIM
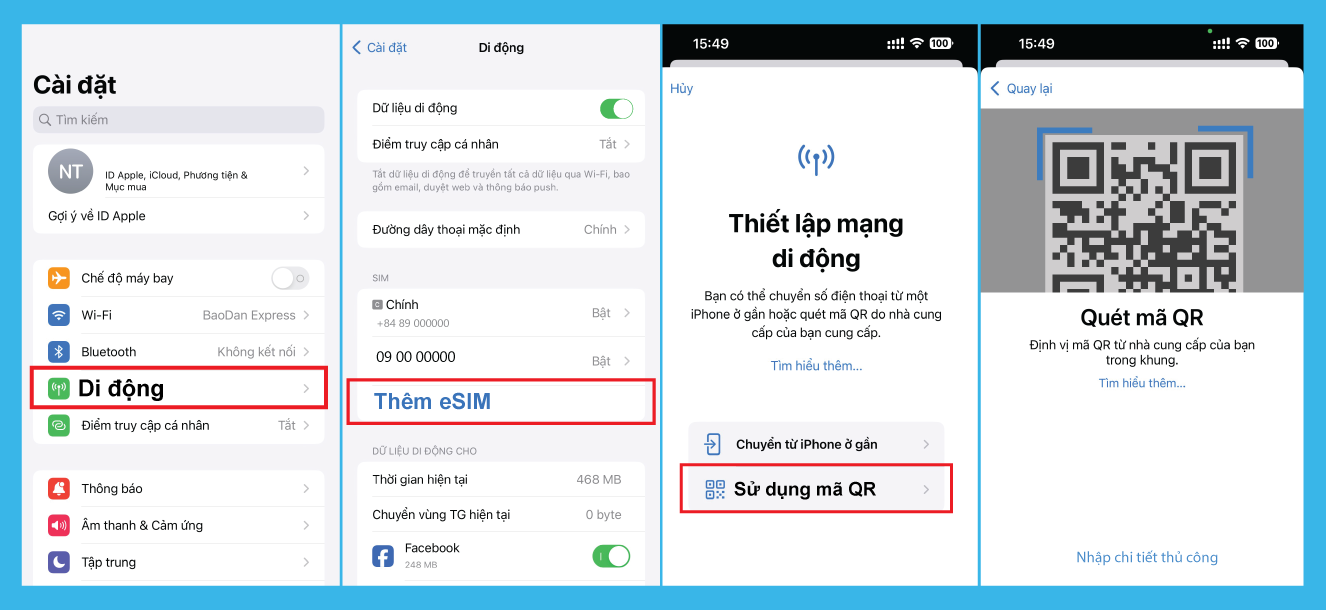
With an eSIM, you can set it up in Vietnam in advance to stay connected proactively. When the plane lands, just turn on data and the phone will automatically connect to the network—no need to remove or swap the SIM you are currently using.
- Step 1: Scan the QR code. Go to Settings > Cellular > Add eSIM, then use the camera to scan the QR code sent by the provider.
- Step 2: Choose the data line. Name the eSIM (for example: “Korea Trip”) and select the eSIM as the Cellular Data source.
- Step 3: Activate upon landing. When you arrive in South Korea, turn on Data Roaming, and after 30-60 g seconds the phone will automatically connect to the network.
Tips for using the Internet in Korea without slow speeds

Even though South Korea has very fast network speeds, travelers can still easily run out of data or experience unstable connections if their phones keep running in the background. A few important tips below will help your 5-day South Korea travel SIM work more stably:
Turn off automatic updates and backups
Facebook, TikTok, iCloud, and Google Photos often automatically sync photos/videos and update apps when connected to the Internet. This is a common reason data runs out very quickly. Before traveling, turn off Automatic app updates and Back up using mobile data.
Prefer WiFi for heavy tasks
Things like downloading apps, updating the operating system, posting lots of photos, or making long video calls should be done using WiFi at your hotel or a cafe. Your SIM data should be reserved for navigation, booking rides, and staying in touch while you’re on the move outdoors.
Let the phone choose the network automatically
Go to Settings > Cellular > Network Selection and turn on Automatic mode. The phone will then automatically search for and connect to a stronger signal from SK Telecom, KT, or LG U+, helping keep the connection more stable when riding the subway, entering shopping centers, or moving between areas.
Restart your phone after arriving in Korea
After inserting the SIM or turning on the eSIM and enabling Data Roaming, restart your phone once. This helps the device update local network settings, making it faster to get signal from 4G/5G and reducing unstable connections right after landing.
Prefer using Naver Map
In South Korea, Google Maps has limited map data, so directions may sometimes be inaccurate or load slowly. Naver Map is optimized for the domestic transportation system, provides more detailed directions, loads faster, and also uses less data when used continuously.
See also: Buy a South Korea travel eSIM – stable Internet 4G/5G, use it right after landing
Is it safe to buy a 5-day South Korea travel SIM online?
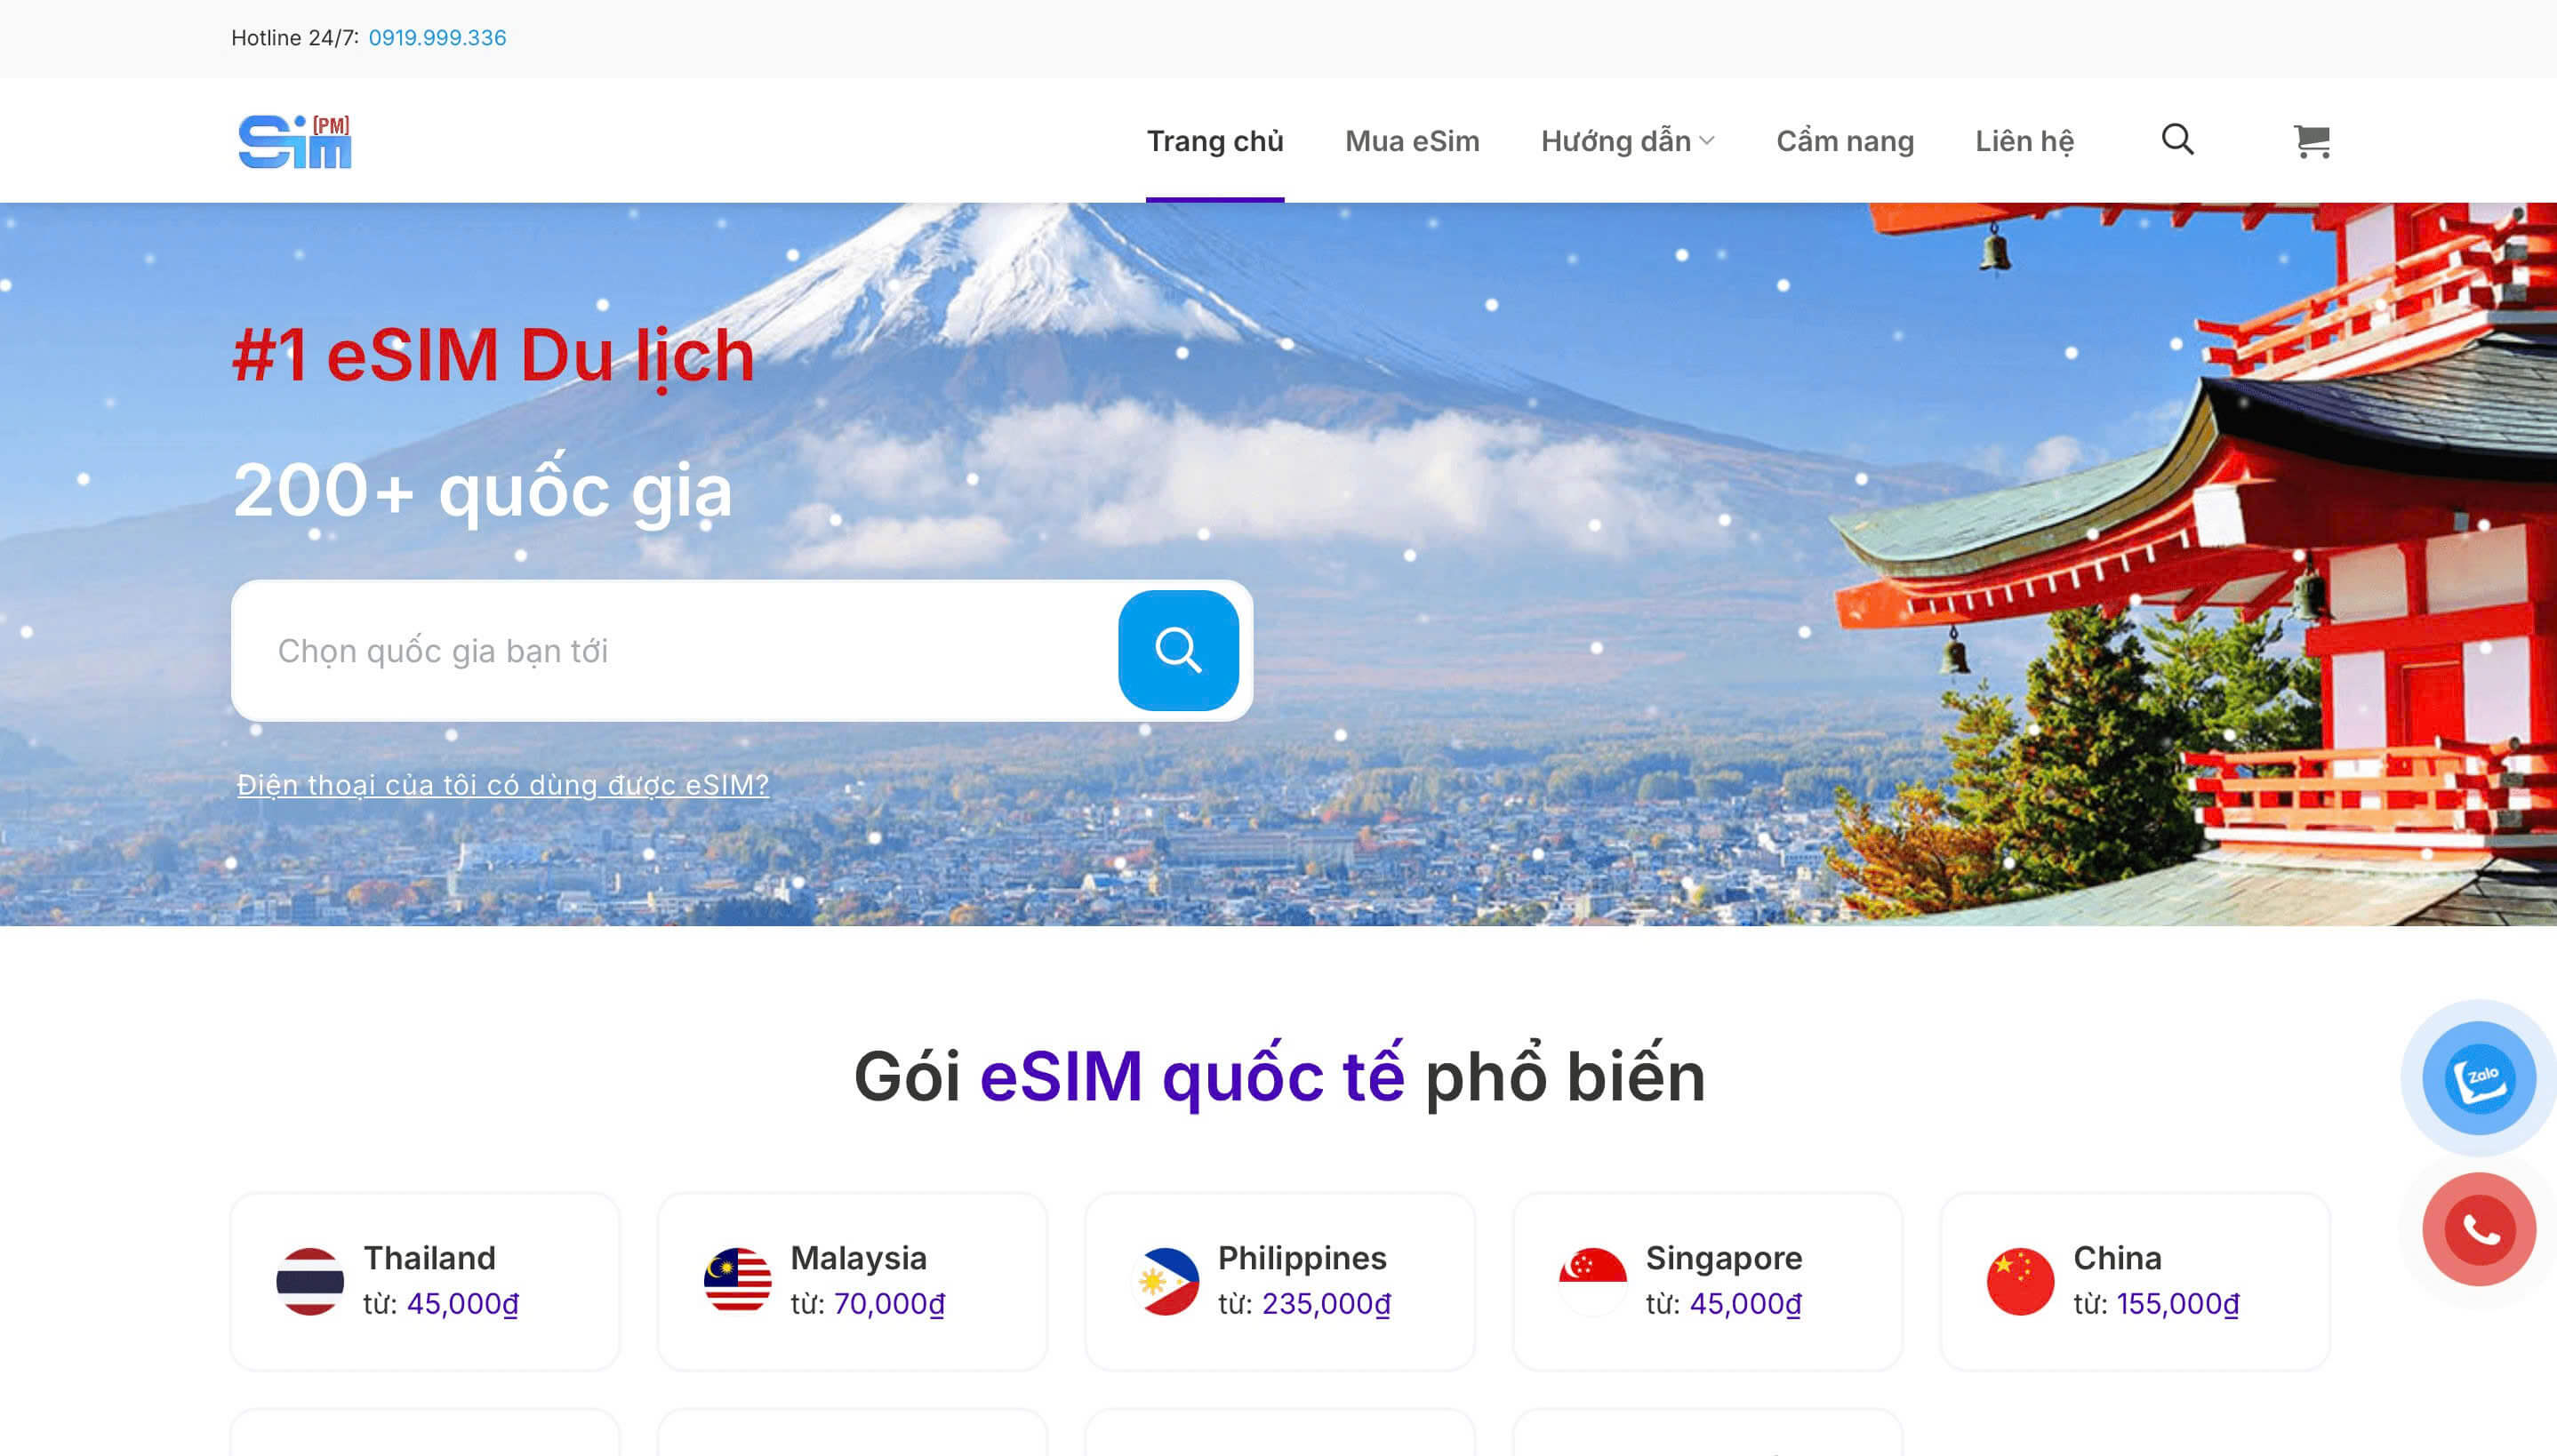
Nowadays, buying a 5-day South Korea travel SIM online is not only safe but also the most popular choice for most independent travelers. Instead of waiting to buy at the airport, many people pre-order from reputable providers such as SimPM so they can prepare for Internet access as soon as they land.
- Vietnamese-language technical support 24/7: Helps resolve technical issues, supports network connection when needed, and communicates clearly and quickly.
- Cheaper than the airport: A SIM at Incheon costs around 25.000-30.000 Won/5 days, while ordering online usually saves 30-50% with similar speed.
- Check compatibility in advance: You’ll be advised whether your phone supports eSIM or is carrier-locked, so you don’t arrive in Korea only to discover it won’t work.
- Clear warranty: A reputable provider like SimPM offers technical support and replacement/refund if there is a carrier error, giving you more peace of mind than buying in a rush at the airport.
Preparing a 5-day South Korea travel SIM before your trip will help you have Internet as soon as you land, so you can easily find directions, book rides, and stay in touch without needing to look for WiFi or line up at the airport. Choosing the right type and installing it in advance in Vietnam also saves both time and money. You can refer to buy a South Korea eSIM at SimPM, with compatibility checks, setup guidance, and Vietnamese-language support 24/7 so your trip starts smoothly from the very first minutes.