How to Activate a Thailand eSIM Correctly and Easily

In recent years, Thailand eSIM has become a popular choice for travelers thanks to its convenience, no physical SIM required, and the ability to get online as soon as they arrive in Thailand. However, many people still feel confused during the activation process, especially first-time users. SimPM will guide you step by step on how to activate a Thailand eSIM from A to Z, along with important notes for stable use throughout your trip.
What is a Thailand eSIM and how does it work?
A Thailand eSIM is a type of electronic SIM built into the phone’s hardware, allowing users to use mobile services in Thailand without inserting a physical SIM card. Instead of buying a traditional SIM and swapping it manually, users only need to scan a QR code or enter activation details to install the eSIM plan directly on the device.
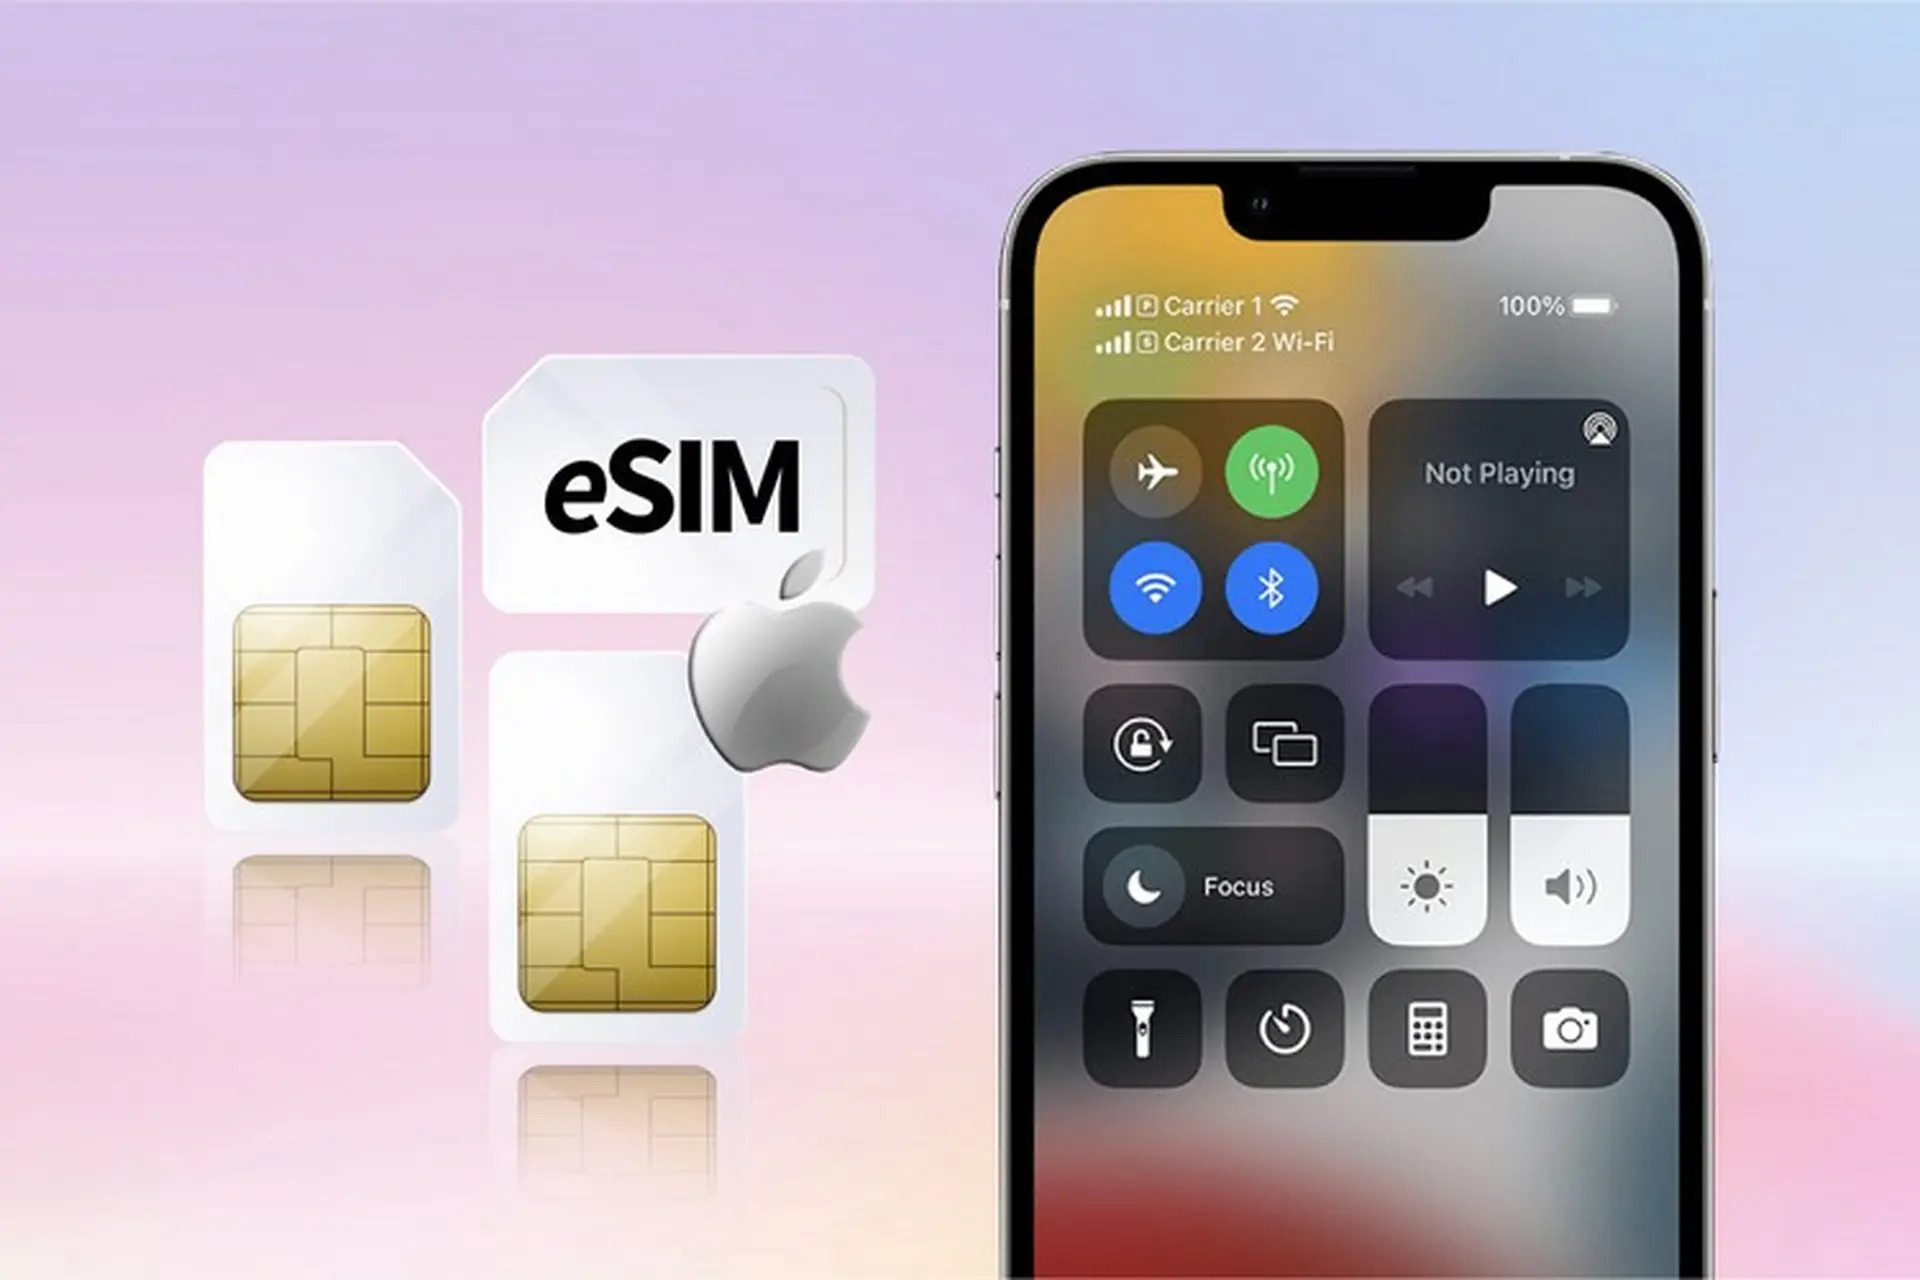
In essence, a Thailand eSIM is not a standalone app or software, but a mobile profile issued by a carrier or eSIM provider. This profile contains all the information the device needs to recognize, register, and connect to carriers in Thailand. Once the eSIM is installed, the phone stores this profile alongside the physical SIM, allowing users to use multiple numbers or multiple data plans on the same device at the same time.
Thailand eSIM works quite simply but very effectively. After installing the eSIM, users only need to turn on mobile data and enable data roaming for the eSIM. When the phone detects that you are within Thailand’s coverage area, the eSIM will automatically connect to the appropriate local carrier according to the preset configuration. The entire process happens automatically, without any complicated technical steps.
Requirements before activating a Thailand eSIM
To make the process of activating a Thailand eSIM smooth and minimize errors, users need to prepare a few basic requirements. Understanding each factor from the start not only helps installation go faster but also ensures the eSIM works stably throughout the usage period.
A phone that supports eSIM technology
The first and most important requirement is that the device must support eSIM. Currently, not every smartphone can use eSIM, even high-end models. Most iPhone models from iPhone XS onward support eSIM, while Android only supports eSIM on certain lines such as Samsung Galaxy S, Galaxy Z, or Google Pixel. Users should check directly in the phone’s mobile settings to confirm compatibility before buying a Thailand eSIM.
A valid and unactivated Thailand eSIM
Each Thailand eSIM is linked to a unique QR code and can only be installed once on one device. If the QR code has already been scanned or the eSIM has been activated before, the system will not allow reinstalling it. Therefore, users must make sure the eSIM is intact, unused, and purchased from a reliable source. Securing the email containing the QR code is also very important to avoid the risk of accidental activation.
An internet connection during eSIM installation

The eSIM installation process requires the phone to have an internet connection to download the network profile. Users should use stable Wi-Fi when installing, especially before departing for Thailand. Installing the eSIM early helps you stay proactive and avoid issues while traveling or in areas with weak signal.
How to install a Thailand eSIM correctly
To make activating a Thailand eSIM smooth and ensure the eSIM can automatically connect to the network upon arriving in Thailand, users need to follow the correct installation process from the start. Below is a detailed step-by-step guide for both iPhone and Android, compiled from real-world experience supporting travel eSIM users.
How to install an eSIM on iPhone
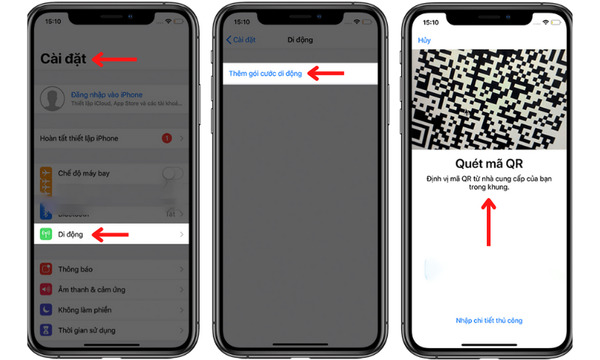
- Step 1: Open Settings on your iPhone, then select Mobile Data.
- Step 2: Tap Add eSIM or Add Cellular Plan, depending on the iOS version you are using.
- Step 3: Use your iPhone camera to scan the eSIM QR code sent to your email.
- Step 4: When the screen shows a confirmation message to add the cellular plan, select Add to proceed with the eSIM installation.
- Step 5: After the eSIM is installed successfully, go to the eSIM settings and turn on Data Roaming to get ready for use abroad.
- Step 6: When you arrive in the country your eSIM plan is registered for, the eSIM will automatically connect to the network and activate without any further action.
How to install a Thailand eSIM on Android phones
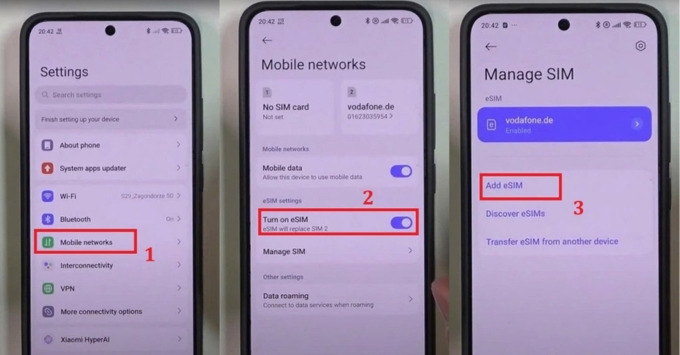
Depending on the brand and operating system version, the eSIM installation interface on Android may vary slightly. However, the basic process usually includes the following steps:
- Step 1: Open Settings, select Connections, then go to SIM Management or SIM Manager.
- Step 2: Choose Add eSIM or Add Cellular Plan to begin installation.
- Step 3: Use your phone camera to scan the eSIM QR code sent in the email.
- Step 4: Wait a few seconds for the system to download and install the eSIM data plan on the device.
- Step 5: After installation is complete, turn on Mobile Data and Data Roaming for the eSIM so it is ready to use when you arrive abroad.
How to activate a Thailand eSIM after arriving in Thailand
After installation is complete, the Thailand eSIM will activate automatically when you arrive in Thailand. However, to ensure the Thailand eSIM activation process happens correctly and the eSIM connects stably right after landing, you should follow the checks below one by one.
Step 1: Turn on mobile data for the Thailand eSIM
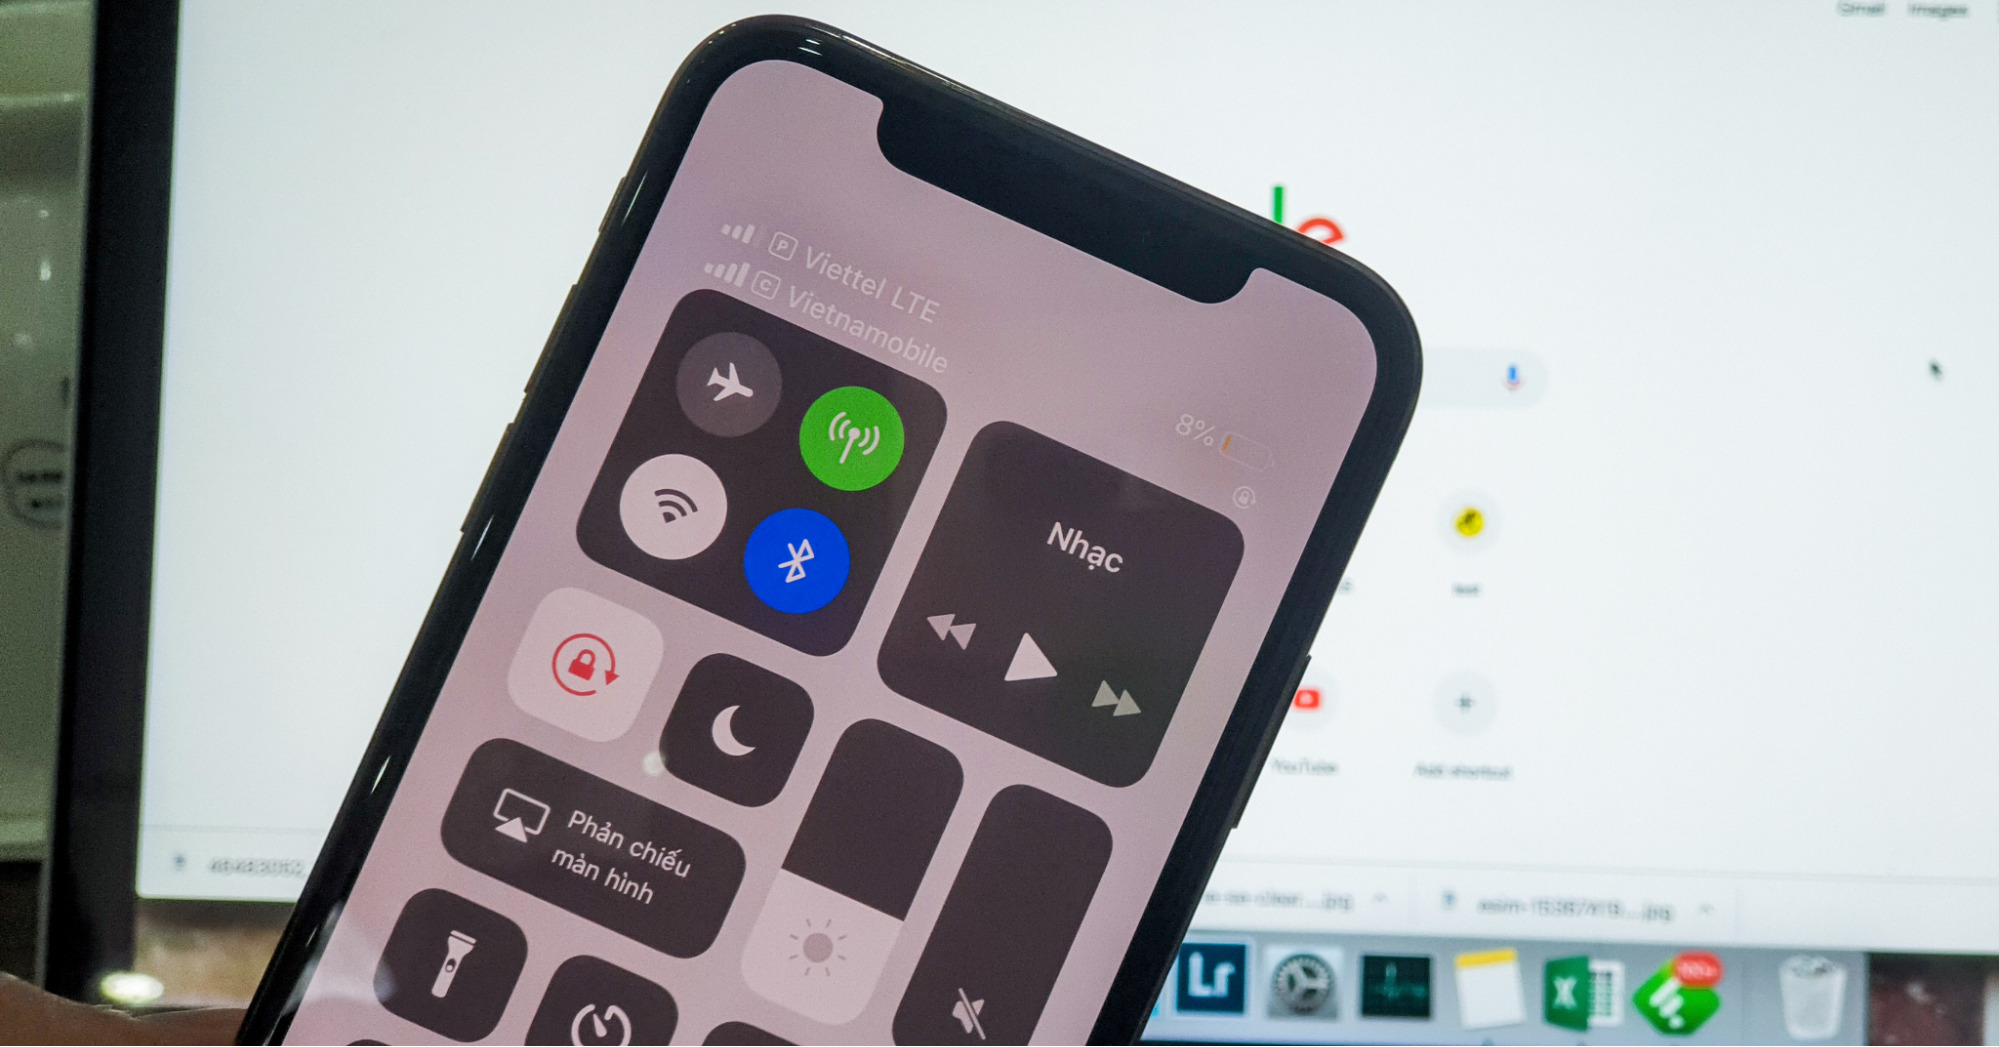
Go to your phone’s mobile network settings and check whether the Thailand eSIM is enabled. Make sure the eSIM is selected as the primary mobile data source. If the phone still prioritizes the physical SIM, the eSIM will not be able to access the internet.
Step 2: Turn on data roaming for the eSIM
Next, go to the detailed settings of the Thailand eSIM and turn on Data Roaming. This is a required step for the eSIM to register on the local carrier network in Thailand. If data roaming is not enabled, the eSIM will have no signal even if it was installed correctly.
Step 3: Turn off the physical SIM if there is network conflict
If the phone is using multiple SIMs at the same time, you should temporarily turn off the Vietnamese physical SIM if the eSIM is not receiving network access. This helps the device prioritize searching for and connecting to the Thailand eSIM faster, especially at airports or in crowded areas.
Step 4: Wait for the eSIM to connect to the local network
After completing the setup, wait about 1 to 2 minutes for the eSIM to automatically connect to the mobile network in Thailand. In some cases, this process may take longer due to signal conditions or high network traffic.
Step 5: Manually select a carrier if there is still no network
If after a few minutes the eSIM still has no signal, you can manually select a network. Go to Network Selection, turn off automatic mode, and choose the correct carrier as instructed in the email from the eSIM provider. Once connected successfully, you can turn automatic network selection back on for more stable use.
See more: What is a 1-day China eSIM? A convenient short-term internet solution
Common errors when activating a Thailand eSIM and how to fix them
When using a travel eSIM, especially for first-time users, errors during Thailand eSIM activation are quite common. Below are the most common issues along with specific solutions, compiled from real-world experience supporting international eSIM users.
Unable to scan the eSIM QR code
This error occurs quite often during the initial installation stage. The usual causes are poor camera focus, a blurry QR code, low light, or scanning a QR code displayed on the device’s own screen.
The most effective solution is to open the QR code on another device or print it out on paper to scan it. In addition, you should make sure the phone is connected to stable Wi-Fi and that the camera lens is clean to avoid recognition errors. If the provider allows manual code entry, you can use that as an alternative.
The eSIM is installed but has no network
When the eSIM appears in the SIM list but cannot access the internet, it usually means the settings were not configured correctly. The most common causes are mobile data not being enabled for the eSIM or data roaming not being turned on.
To fix this, you need to go to the mobile network settings, select the Thailand eSIM as the primary data source, and turn on Data Roaming. Then restart the phone so the system can refresh the network connection automatically.
The eSIM cannot detect a network in Thailand
This error usually happens when the eSIM cannot automatically choose a local carrier. Possible causes include weak signal in the area, high network traffic, or the device has not yet updated the carrier list.
In this case, you should go to Manual Network Selection, turn off automatic mode, and choose the correct carrier according to the instructions in the email from the eSIM provider. After connecting successfully, you can turn automatic mode back on for more stable use.
The eSIM loses connection after some time of use
Some users report that the eSIM works normally at first but then suddenly loses connection. The cause is often related to moving between different coverage areas or the phone automatically switching to another SIM.
The solution is to check whether the Thailand eSIM is still selected as the primary mobile data source. If needed, temporarily turn off the physical SIM and turn mobile data back on for the eSIM so the device can reconnect to the network.
The eSIM cannot be used after restarting the phone
In some rare cases, after restarting the phone, the eSIM no longer connects to the network as before. The cause may be that network settings have been reset or the eSIM has not been reactivated correctly.
You should go back to the eSIM settings, check the eSIM status, and turn mobile data and data roaming back on. If the issue is still not resolved, try manual network selection or contact the eSIM provider’s technical support for more detailed guidance.
See more: Do I need an eSIM in China? Detailed answers for those preparing to go to China
How to choose a reliable Thailand eSIM at SimPM
Choosing the right eSIM provider plays an important role and directly affects the connection quality and user experience throughout the trip. With many years of experience in travel SIM and eSIM, SimPM is considered one of the platforms that provides Thailand eSIM with clear information, transparent plans, and a convenient purchasing process. Below is a detailed step-by-step guide to help you choose and buy a Thailand eSIM at SimPM accurately and with peace of mind.
Step 1: Visit the SimPM website
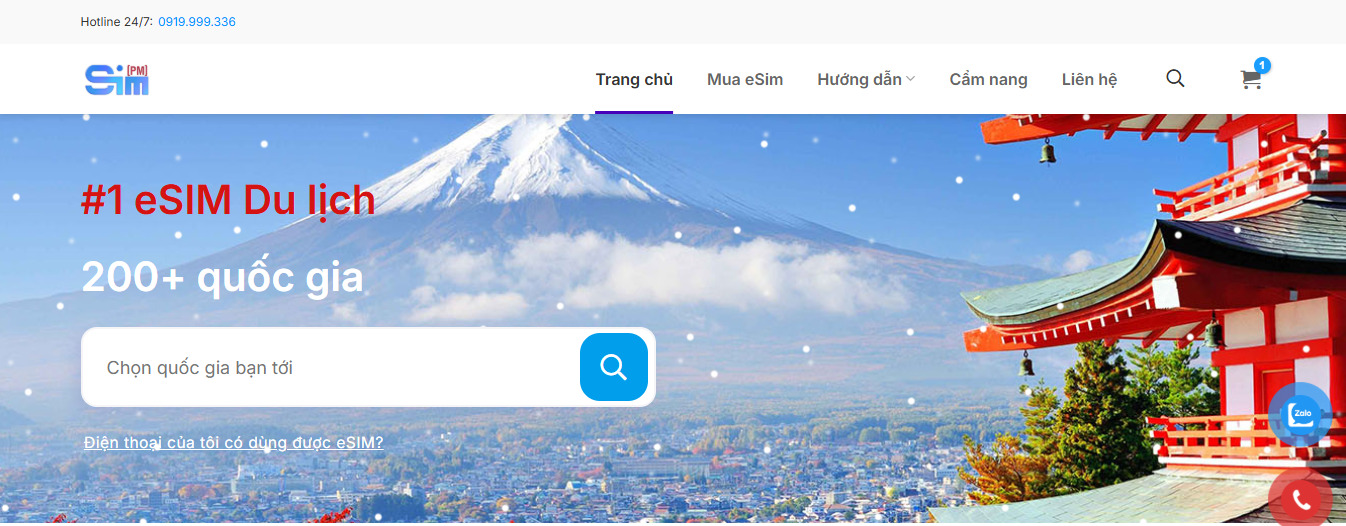
First, open your browser and visit SimPM’s official website at https://simen.danhgiasan.io/. This is where you can find a full range of travel eSIM plans for many countries, including Thailand eSIM.
Step 2: Select “Buy eSIM” on the Menu bar
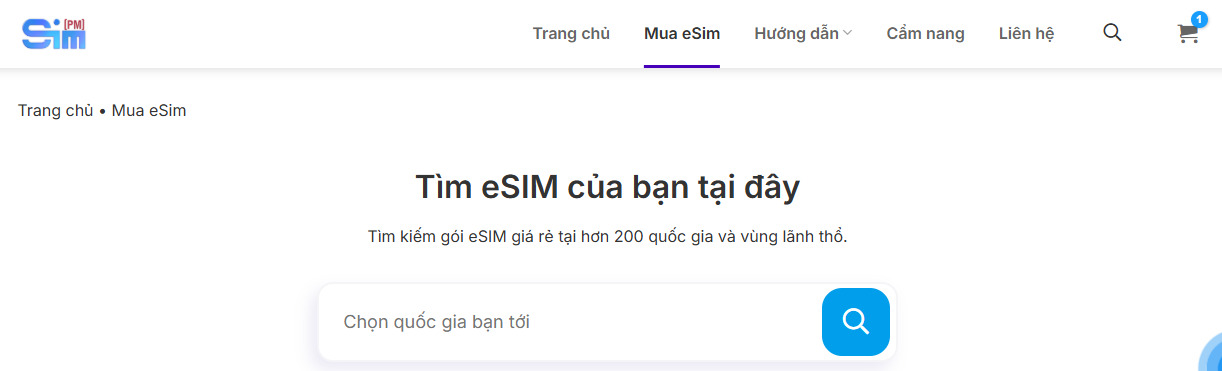
On the homepage interface, find and click on “Buy eSIM” on the Menu bar. A list of supported countries and regions for eSIM will appear so you can easily choose according to your needs.
Step 3: Choose Thailand eSIM
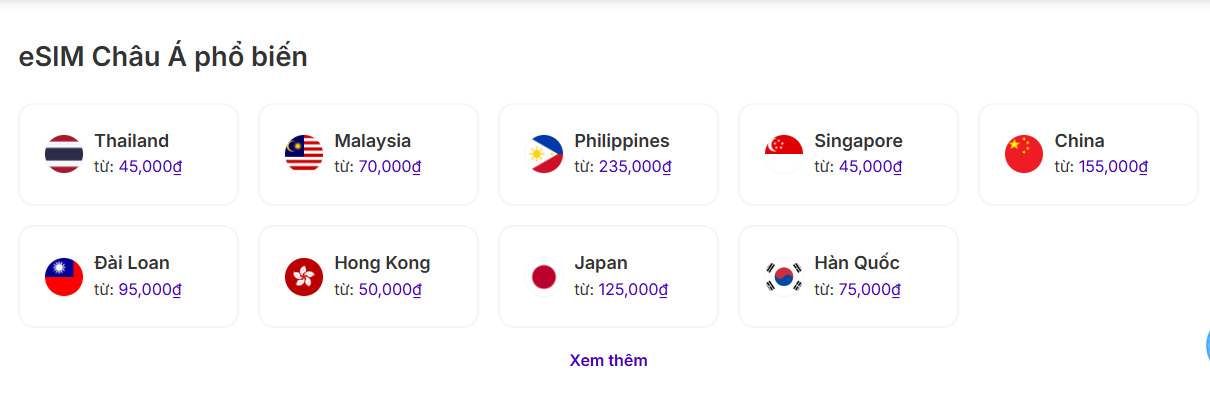
After entering the eSIM purchase page, scroll down and find the eSIM “Thailand” icon. Sorting by country helps users quickly find the right product and avoid confusing it with regional or global eSIM plans.
Step 4: Select the number of days and suitable data allowance
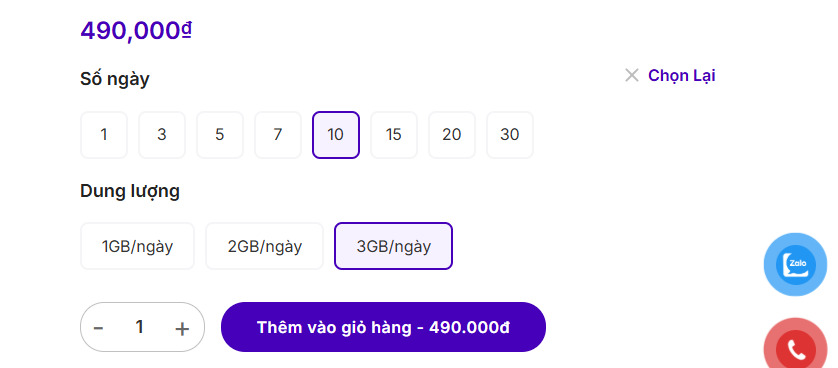
On the Thailand eSIMpage, choose the number of days and the data allowance that fits your personal itinerary. Choosing the right plan from the start helps optimize costs and reduce the risk of running out of data during use.
Step 5: Add the eSIM to cart
After choosing the eSIM plan you want, click on the “Add to cart” line together with the displayed price. The system will automatically add the product to your cart so you can review it before payment.
Step 6: Click “checkout”
Next, click the “Checkout” button to move to the order confirmation page. Here, you can review the details of the selected eSIM plan.
Step 7: Fill in recipient information and order notes
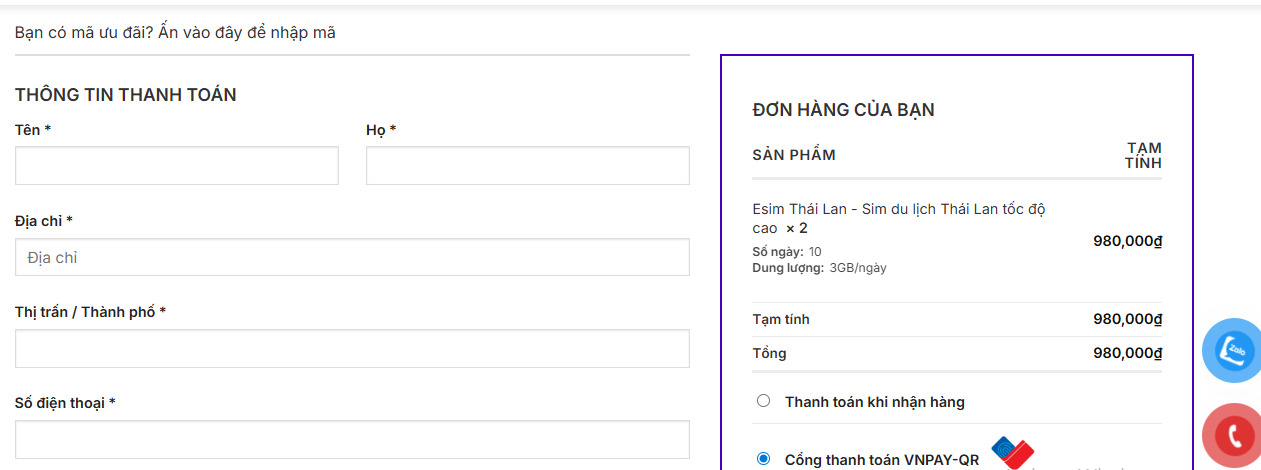
At this step, you need to fill in the recipient’s personal information completely, especially the email address to receive the installation QR code. If you have any special requests or need additional support, you can enter them in the order notes section.
Step 8: Choose a payment method and complete the order
Finally, choose a suitable payment method. After payment is confirmed, the system will process the order and send the Thailand eSIM along with detailed installation instructions by email. When you receive the email, simply follow the instructions to install and be ready to use it when you arrive in Thailand.
Overall, the correct way to activate a Thailand eSIM is straightforward and easy to follow if you understand the process from preparing the device, installing the eSIM, to checking and troubleshooting once you arrive in Thailand. To ensure a smooth experience throughout your trip, you should choose a Thailand eSIM from trusted providers like SimPM, which offers transparent information, clear support, and a simple purchase-and-activation process for first-time users as well.