How to Set Up eSIM on iPad Quickly, Correctly, and Easily

Are you looking to connect to the internet on your iPad without using a physical SIM or relying on WiFi? SimPM helps you clearly understand whether your iPad supports eSIM, how to check your device, and provides detailed instructions on how to set up eSIM on iPad simply, quickly, and correctly.
Does iPad support eSIM?
The answer is yes, but it depends on the specific model and version. Not every iPad on the market supports eSIM. Apple only equips this technology on WiFi + Cellular iPad models, meaning devices with hardware that supports mobile network connectivity.
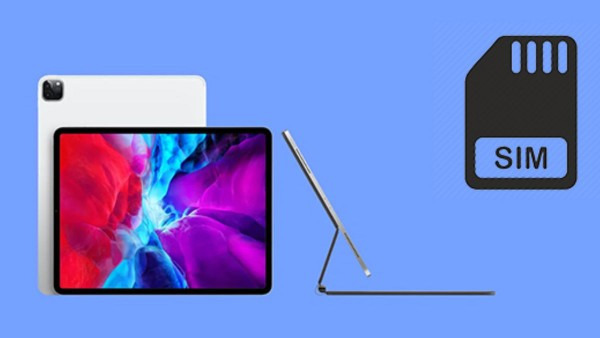
To use eSIM, your iPad must meet all of the following requirements:
- It must be the WiFi + Cellular version.
- Apple must have equipped the model with eSIM support.
- It must be running a compatible iPadOS version.
- It must not be carrier-locked.
If your iPad only has WiFi connectivity, it will not be able to use eSIM because it does not have an integrated cellular modem. eSIM is not an app you install; it is an electronic SIM technology built into the hardware.
Benefits of using eSIM on iPad
Once your iPad supports eSIM, users not only get another connectivity option but also upgrade the entire device experience. Below are the standout practical benefits of eSIM on iPad.
- Stay connected anytime without relying on WiFi: eSIM allows your iPad to access mobile data anywhere with network coverage, helping you work, study, or entertain yourself without looking for public WiFi. This is especially useful when joining online meetings, sending important documents, or handling urgent work while on the move.

- Convenient for international travel: With a travel eSIM, you can buy a data plan online before your trip and receive an activation code by email. When you arrive in a new country, just turn on mobile data and you can use the internet right away without having to look for a SIM shop or queue at the airport.
- No need to worry about losing or damaging a physical SIM: eSIM is integrated directly into the iPad’s hardware, so it does not exist as a removable card. You do not need to remove or insert a SIM, you do not need a SIM eject tool, and you also do not have to worry about dropping or breaking a SIM during use. Removing the physical SIM slot also helps reduce the risk of component damage and increases the device’s durability over time.
- Improved device security: Because eSIM cannot be removed like a traditional SIM, others cannot easily take the SIM out of your iPad if the device is lost. Combined with Apple’s security systems such as iCloud and Find My, eSIM helps better protect subscription information and personal data, reducing the risk of unauthorized use.
Which iPad supports eSIM?
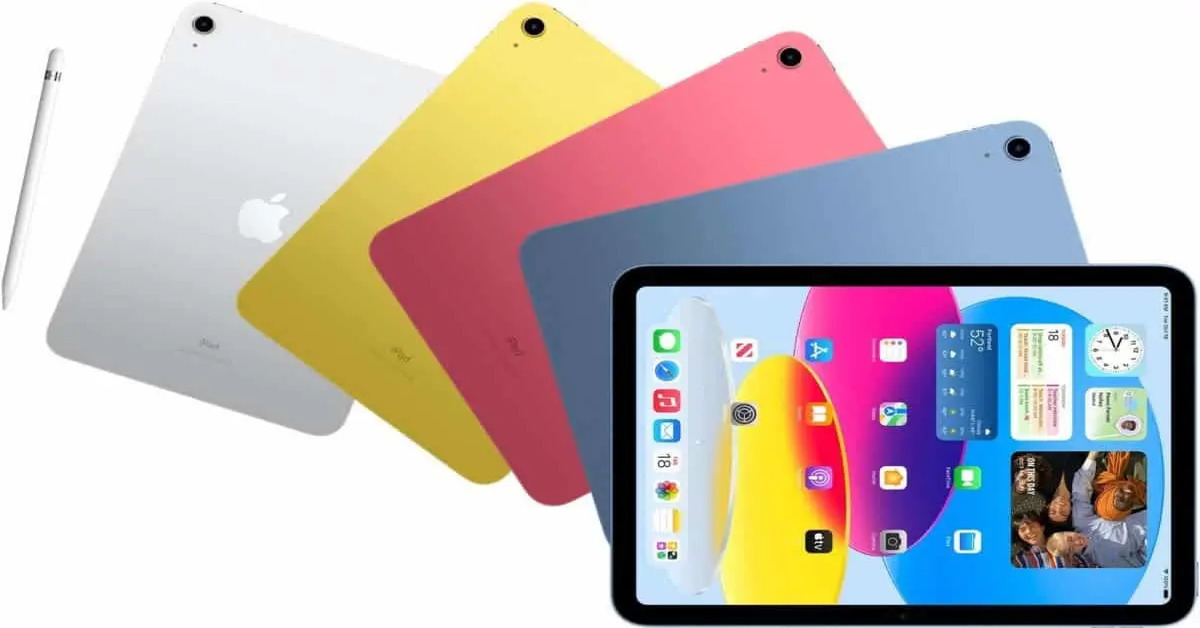
Before learning how to set up eSIM on iPad, it is important to determine whether your device has been equipped by Apple with eSIM technology. Not every iPad supports eSIM, because eSIM only appears on WiFi + Cellular versions with cellular hardware. Below is a list of iPad lines currently integrated by Apple with eSIM support, along with a comparison table for easy reference.
| iPad line | Model / Generation | eSIM note |
| iPad Pro 13 inch | M5 WiFi + Cellular | eSIM supported |
| iPad Pro 13 inch | M4 WiFi + Cellular | eSIM supported |
| iPad Pro 11 inch | M5 WiFi + Cellular | eSIM supported |
| iPad Pro 11 inch | M4 WiFi + Cellular | eSIM supported |
| iPad Pro 11 inch | Generation 1 to generation 4 WiFi + Cellular | eSIM supported |
| iPad Pro 12,9 inch | Generation 3 to generation 6 WiFi + Cellular | eSIM supported |
| iPad Air 13 inch | M3 WiFi + Cellular | eSIM supported |
| iPad Air 11 inch | M3 WiFi + Cellular | eSIM supported |
| iPad Air 13 inch | M2 WiFi + Cellular | eSIM supported |
| iPad Air 11 inch | M2 WiFi + Cellular | eSIM supported |
| iPad Air | Generation 3 to generation 5 WiFi + Cellular | eSIM supported |
| iPad (A16) | WiFi + Cellular | eSIM only, no physical SIM |
| iPad | Generation 7 to generation 10 WiFi + Cellular | eSIM supported |
| iPad mini (A17 Pro) | WiFi + Cellular | eSIM only, no physical SIM |
| iPad mini | Generation 5 and generation 6 WiFi + Cellular | eSIM supported |
Identifying the correct iPad model that supports eSIM will help you avoid wasting time and prepare accurately before taking the steps to set up eSIM on iPad, helping mobile data connectivity be faster and more efficient. Important note about models that use eSIM only and do not have a physical SIM slot:
- iPad (A16) WiFi + Cellular and later
- iPad Pro (M4) WiFi + Cellular and later
- iPad Air (M2) WiFi + Cellular and later
- iPad mini (A17 Pro) WiFi + Cellular and later
How to check whether your iPad supports eSIM?
Before diving deeper into how to set up eSIM on iPad, you need to make sure the device you are using truly supports this technology. Checking correctly from the start will help you avoid wasting time buying the wrong eSIM or running into unnecessary errors during activation. Below are the accurate and easy steps to check.
Check whether the iPad is a Cellular model
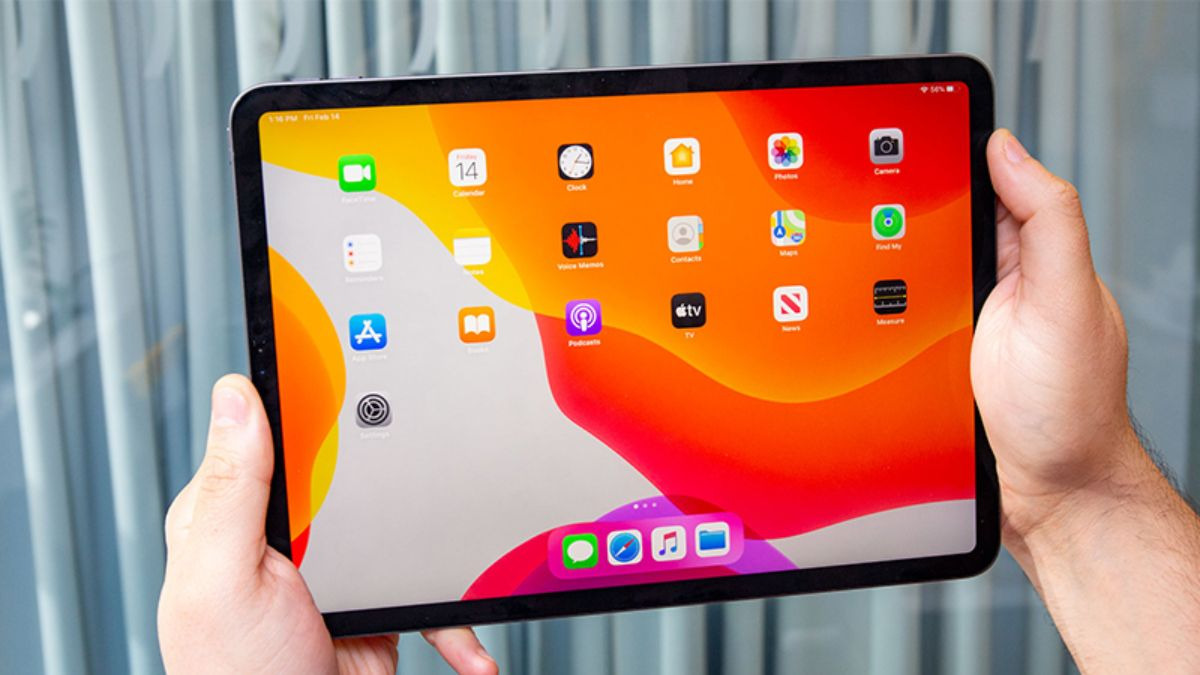
The first and most important step is to determine whether your iPad supports mobile data.
- Open Settings on your iPad.
- If you see the Mobile Data or Cellular, the device is a WiFi + Cellular version.
- If you do not see this item, your iPad is a WiFi model and will not support eSIM.
eSIM only works on devices with an integrated cellular module. If this hardware is missing, you will not be able to add eSIM even if the operating system is fully up to date.
Check the add eSIM option in Settings
After confirming that the device is a Cellular model, continue checking the eSIM feature:
- Go to Settings > Mobile Data.
- Look for the option Add eSIM or Add Mobile Plan.
If this option appears, your device supports eSIM and you can follow the steps in the guide on how to set up eSIM on iPad. If you do not see the option, your model may be an older Cellular version that Apple has not integrated with eSIM.
Check the model number for exact confirmation
In some cases, the operating system interface may differ depending on the iPadOS version. Therefore, the surest way to check is to identify the device model number:
- Go to Settings > General > About.
- Find the line Model Number or Model number.
- Tap it to reveal the Axxxx format.
Then compare this model code with Apple’s published list of iPads that support eSIM. This is the most accurate way to determine whether the hardware has eSIM integrated.
Quick check on the SimPM website
If you want to confirm quickly without manually checking the model code, you can check directly on the website SimPM using the following steps:
- Visit the website SimPM.
- Go to the Guide section in the menu bar.
- Select Supported Devices.
- In the search bar, enter the name of the iPad device you are using, and the system will return results showing whether that device supports eSIM.
Prepare before setting up eSIM on iPad
Before starting to set up eSIM on iPad, you need to make sure your device and activation information are ready. Preparing everything from the beginning will help the eSIM addition process go quickly, reduce errors, and avoid having to delete and reinstall multiple times. Below are the important factors to check.
Make sure the iPad supports eSIM and is a Cellular model
The prerequisite is that the iPad must be a WiFi + Cellular version and be on Apple’s list of eSIM-supported devices. If the device is only a WiFi model, you will not see the option to add eSIM in Settings. Identifying the correct model before buying an eSIM helps avoid purchasing the wrong plan that cannot be activated.
Update iPadOS to the latest version
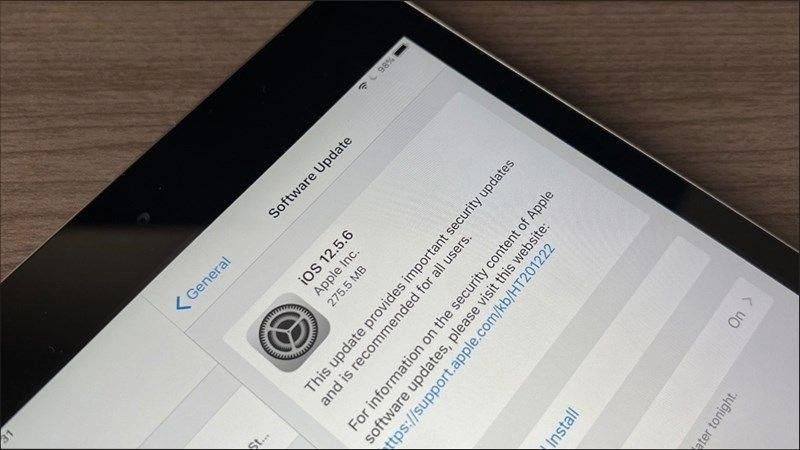
Apple often improves eSIM management through operating system updates. You should go to Settings > General > Software Update to check and upgrade if needed. The newer operating system helps display the add eSIM item fully and reduces errors during activation.
Prepare a stable WiFi connection
During the eSIM addition process, your iPad needs an internet connection to download the configuration from the carrier’s server. Therefore, you should use a stable WiFi connection with sufficient speed. If the network is unstable, the installation may be interrupted or display an error.
Prepare the QR code or eSIM activation details
Depending on the provider, you will receive a QR code or manual entry information such as the SM-DP+ address and activation code. Make sure the code has not been used before, as most eSIMs can only be activated once. You should also save the email containing the eSIM information for technical support when needed.
Sign in with Apple ID and check device security
The iPad needs to be signed in with a properly working Apple ID to ensure there are no conflicts with the network system and iCloud. In addition, you should check that the device is not carrier-locked or restricted by a corporate profile, as this may affect adding eSIM.
How to set up eSIM on iPad easily
After you have prepared the device and activation information, you can begin following the standard process below for how to set up eSIM on iPad. This is a widely used method because it is simple, reduces the chance of entering information incorrectly, and is suitable even for first-time eSIM users.
Step 1: Access cellular data settings
First, open the Settings app on your iPad.
Select Mobile Data or Cellular Data depending on the system language.
Here, you will see the section for managing your active plans or the option to add a new plan. If the device supports eSIM, the system will display Add Mobile Plan or Add eSIM.
Step 2: Set up the mobile plan
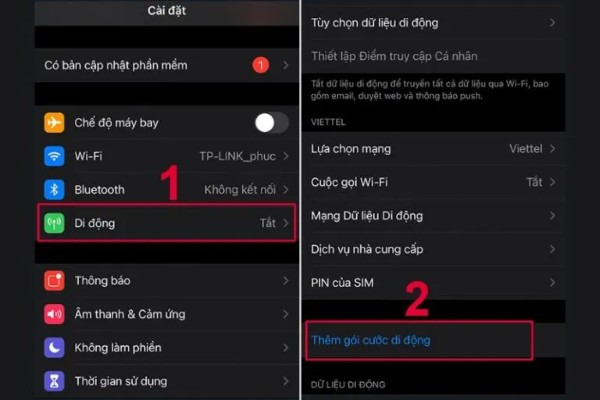
If this is your first time using eSIM on iPad, choose Add Mobile Plan. The system will ask you to scan a QR code or manually enter the information provided by the carrier.
Place the QR code clearly and in good light within the scanning frame. After a successful scan, the iPad will display the plan details for you to confirm. Tap Add Mobile Plan to continue.
If the carrier requires manual entry, you need to enter the server address and activation code exactly as instructed. After confirmation, the device will download the eSIM profile and complete activation within a few seconds to a few minutes.
Step 3: Add a new plan or switch between eSIMs

iPad can store multiple eSIM profiles at the same time, but only use one data plan at a time. If you want to add a new plan, go back to Mobile Data and select Add New Plan, then scan the QR code or enter the activation details as in the previous step.
To switch between saved eSIMs, simply go to Mobile Data, choose the desired plan and turn it on. This switch happens quickly without needing to remove or insert a physical SIM.
Choose a travel eSIM for every device at SimPM
After your device is ready and you understand the installation process, choosing a trusted provider is an important step to ensure stable connectivity throughout your trip. With experience in travel eSIMs, a transparent platform, fast code delivery, and broad coverage will help you stay more in control before departure. SimPM is a provider specializing in travel eSIMs for many countries, suitable for iPad, iPhone, and other eSIM-compatible devices.
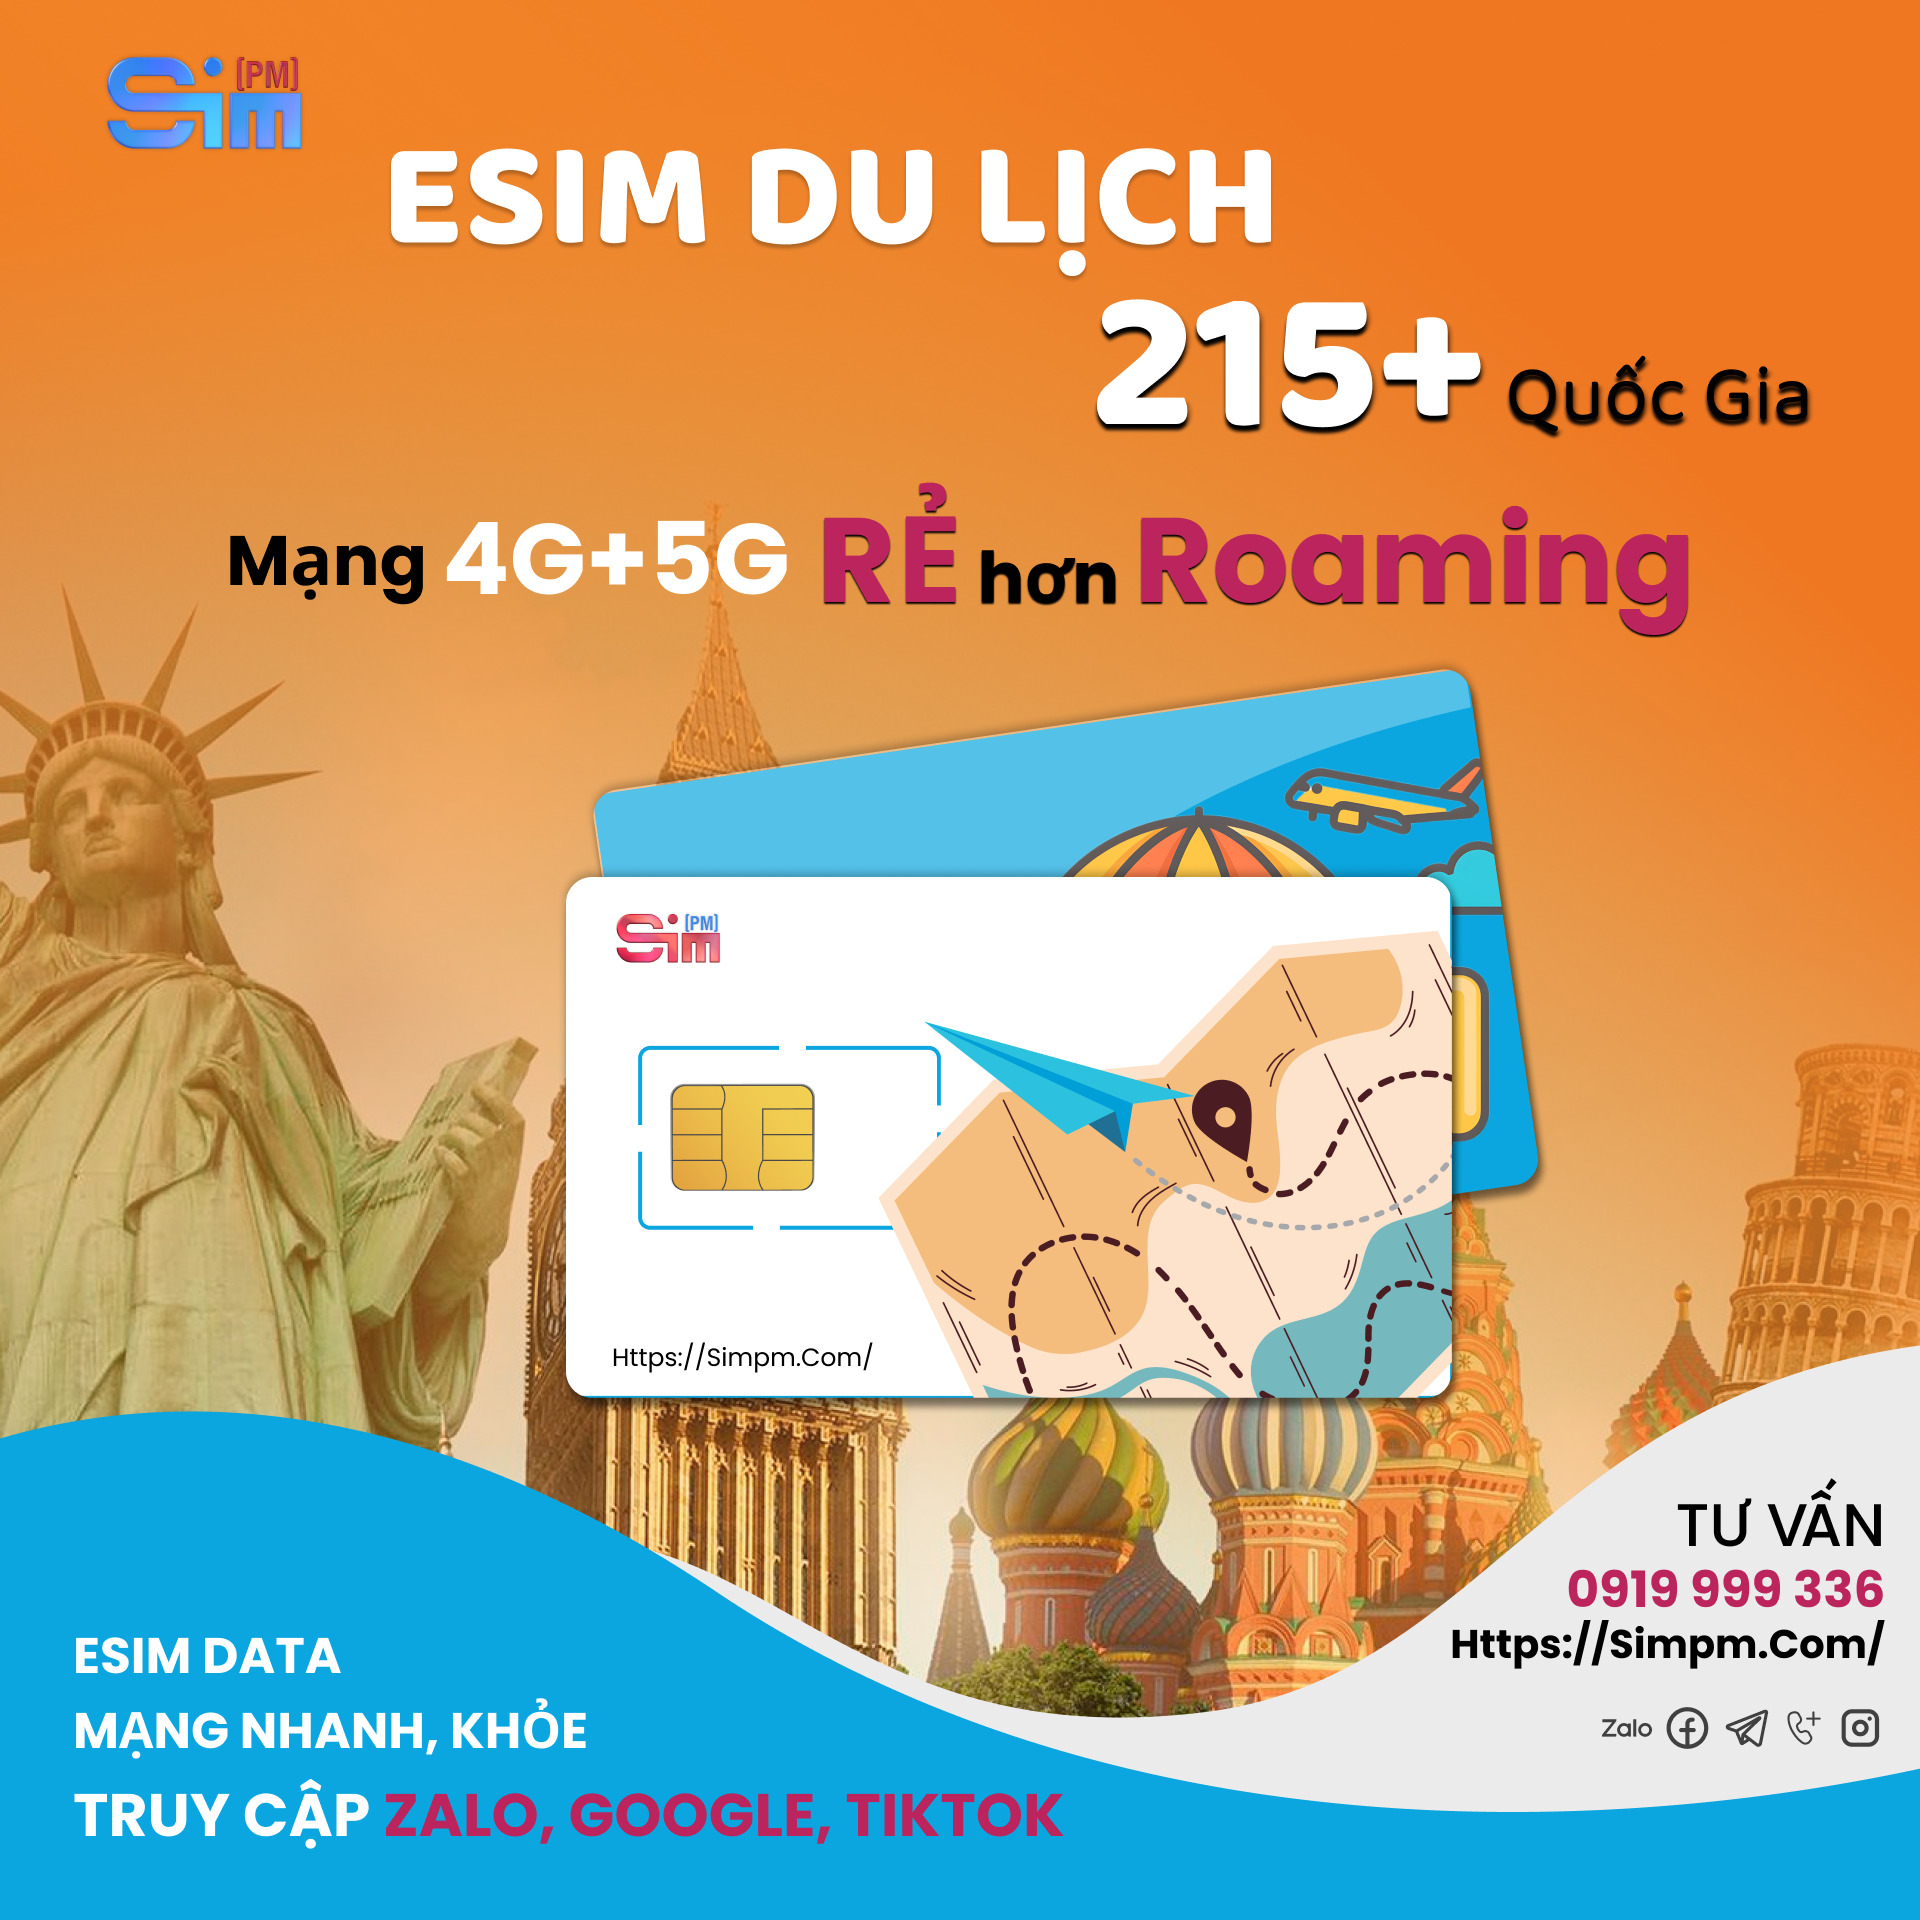
You should buy eSIM travel eSIMs at SimPM because:
- Provides eSIM coverage in more than 200 countries and territories, meeting international travel, business, and work needs such as: China eSIM, Thailand eSIM,…
- Receive the QR code by email quickly within about 3 to 10 minutes after payment, allowing you to set up before your trip.
- Prices start from 45.000 VND depending on the plan and country, making it more cost-effective than traditional roaming.
- The purchase process is completely online, with no waiting for physical SIM delivery.
- Device compatibility lookup is available before purchase to reduce mistakes.
- Support is available when you need help with activation or data connection issues.
An iPad can use eSIM if it is a WiFi + Cellular version and is among the models supported by Apple. Once you have checked the device correctly, prepared the activation information, and chosen a trusted provider, the process of how to set up eSIM on iPad will be quick, stable, and secure. eSIM not only enables flexible connectivity while traveling but also optimizes costs and improves security, making it a suitable solution for modern iPad users for work and international travel.